Create Pipe Marking Labels with DuraSuite
How-To Create Pipe Marking Labels with DuraSuite
Video Transcription
Pipe markers communicate pipe contents and direction of flow using colors and text to represent different gases and liquids. Let's start by opening DuraSuite from the desktop and clicking on the Pipe Markers module, and then Pipe Marking.
At the top of the module, you will see the four main color-coded groups of pipe contents; flammable, fire-quenching, low hazard liquids, and low hazard gases. For this example, we'll create a two inch yellow nitrous oxide label by choosing it from the yellow flammable category. You will begin to see the layout of the label you are creating at the bottom of the module. Next choose an outside pipe diameter from the drop-down menu. Let's choose the two and a half to six inch pipe diameter. Then we will set our supply width to two inches since we will be using two inch yellow vinyl. The font height and label length are customizable but for now we'll leave them alone. Under stock orientation, you will have the option for landscape or portrait. We will leave it set at landscape since we will be applying our pipe marker to a horizontal pipe.
Select from 33 different types of arrows to place on your pipe marker, or choose to have no arrow at all. Place arrows on either side of the text, or both sides by selecting either left, both, or right, under the arrows section. The custom text field allows you to type whatever you want to appear on your label if you can't find a suitable name in the various color coded drop-down menus at the top.
When you are satisfied with the layout of your pipe marker, click the print preview button at the top of the module to view a scaled layout of your label. To print, go to file, print, and make sure that you print properties match the size of your designed label. Click print, and your new pipe markers are ready to be applied immediately. Call 1-800-788-5572 today to receive more information about the DuraSuite software, or visit us on the web at www.DuraLabel.com.
Related Resources
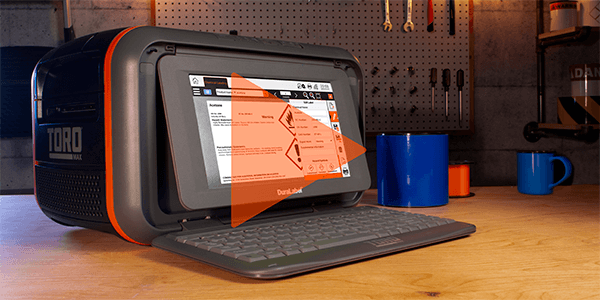
DuraLabel Toro Max Industrial Sign and Label System
Discover the power and versatility of the DuraLabel Toro Max Industrial Sign and Label System. Designed for ...
Watch Now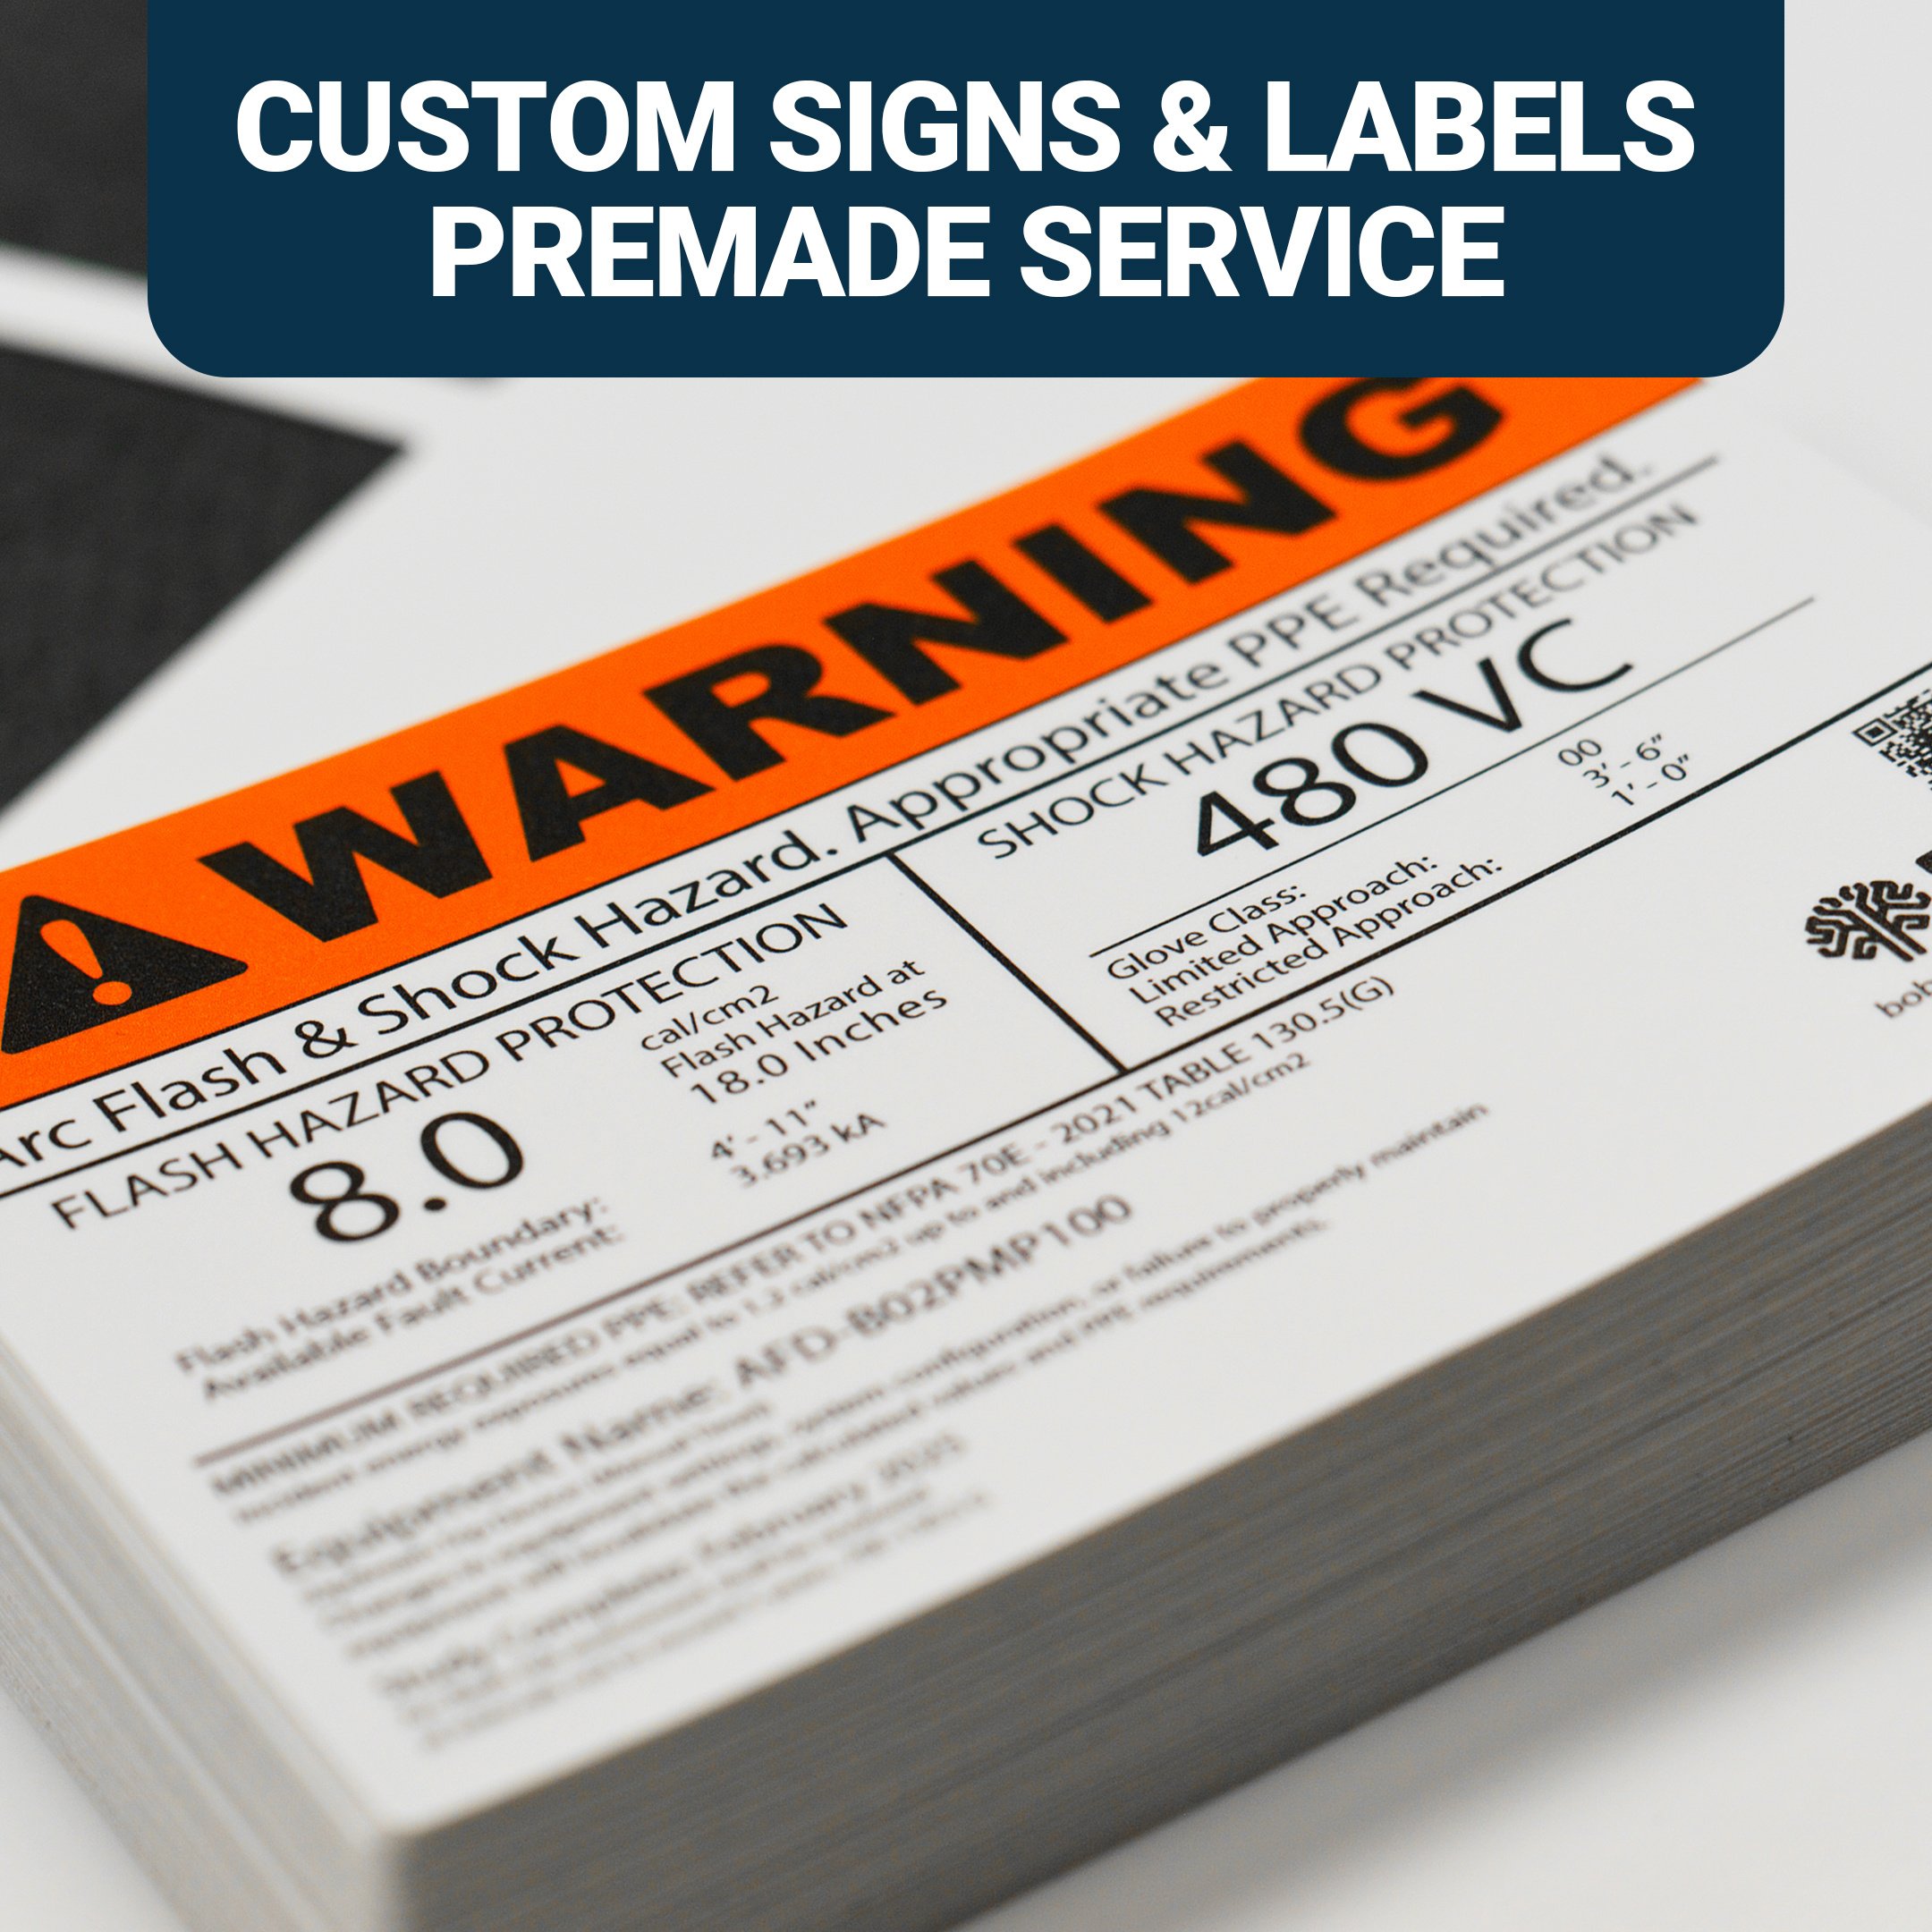
Built for Industry: DuraLabel’s Custom Sign & Label Service
Get custom-made signs and labels built to your exact specifications—fast. Whether you need pipe markers, arc ...
Watch Now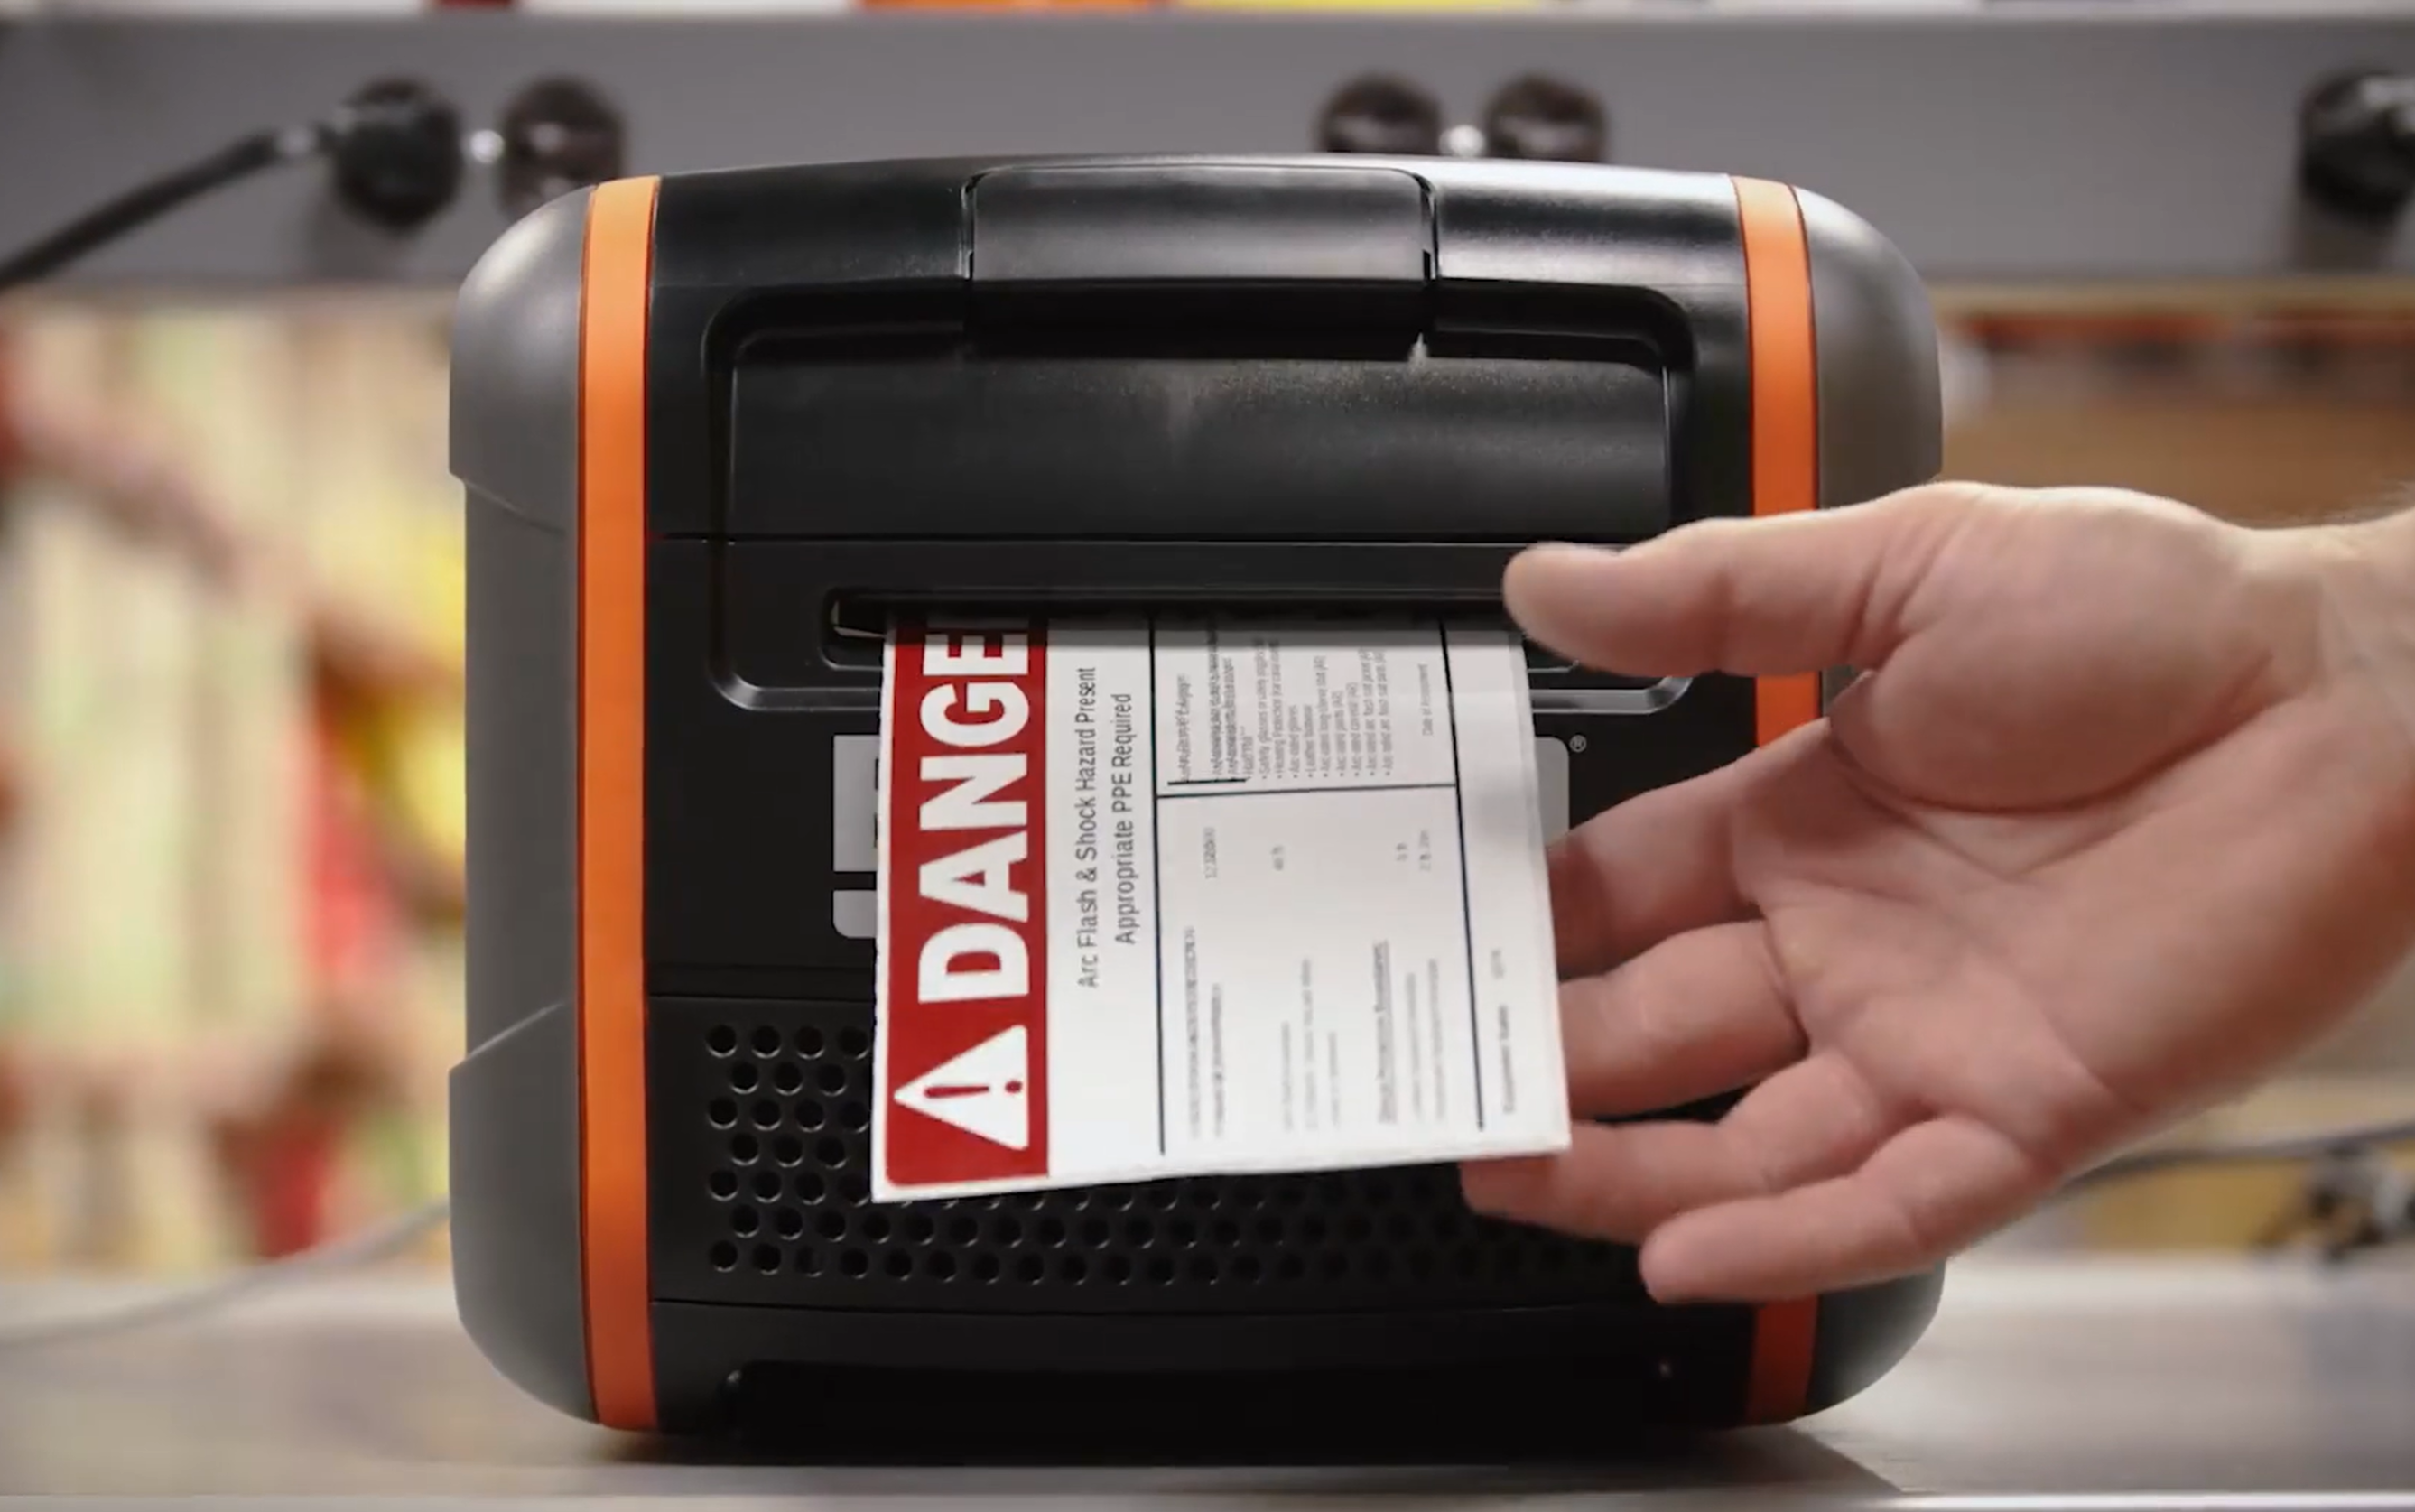
DuraLabel Bronco Max Industrial Label Printer Feature
Meet your new safety sidekick. The DuraLabel Bronco Max is designed to streamline production of visual ...
Watch Now.png)

