How to Get Started with Pipe Marking and Labeling
Pipe marking quickly communicates information about a pipe and its contents, improving overall workplace safety and productivity. To get started with pipe marking in your facility, you'll need to follow a few simple steps.
Steps to a Pipe Marking Project
First, you need to know about pipe marking standards and which one you will follow. There may be a legal obligation to use a specific system; if not, there may be a recommended practice for your industry or for the piping system in question. The choice may be left up to you. Whatever system you use, you'll need to understand the pipe marking standards it requires.. This typically includes a color code, but there's often more to it.
Then, you must know more about the piping system that needs pipework labels. How many different pipes are there, and how many different materials do they carry? Are there complex intersections of pipes, or long runs? For smaller facilities, this may only involve walking around and taking notes; for large or complex installations, you may need a Piping and Instrument Diagram, or P&ID.
Finally, you need to actually post the pipe markers that you need. You may purchase pre-printed pipework labels for common materials, or use a custom label printer in your workplace to create custom pipe labels you need. Either way, you will want to carefully choose the equipment and supplies to get the job done, and you will need to position the pipe markers effectively.
This article will walk you through these steps.
Choosing the Right Pipe Marking Standard
There are many different pipe marking standards for pipe marking. How do you choose the right one?
In some cases, there is a legal obligation to use a specific approach. For example, the Occupational Safety and Health Administration (OSHA) has OSHA pipe labeling requirements that apply to certain industries and operations:
- Pulp, paper, and paperboard mills (1910.261)
- Textiles (1910.262)
- Oxygen-fuel gas welding and cutting (1910.253)
For these situations, OSHA requires facilities to use one particular labeling system that meets OSHA pipe labeling requirements (the ANSI/ASME A13.1 standard, described below).
If no particular marking system is mandatory for your situation, there may be a useful voluntary standard to follow. Often, this will be an industry-specific standard, such as the one created by the International Institute of Ammonia Refrigeration (IIAR) to help operators of large, ammonia-based refrigeration systems. In other cases, it may be a standard that's common across a region; for example, many European facilities use a version of British Standard (BS) 1710 for their pipe marking.
These are some of the most common pipe marking standards and pipe color codes, and what each one is used for.
General Purpose Pipe Marking Symbols & Labels: ANSI/ASME A13.1
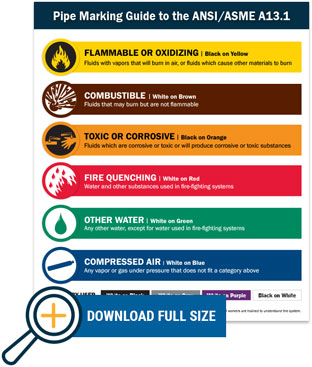 The American National Standards Institute (ANSI) publishes many standards across a variety of industries. Their ANSI A13.1 standard used a simple pipe marker color code to show the difference between pipes based on their contents, and gave practical recommendations for sizing and placement of the pipework labels to ensure that they could be read easily.
In 2007, ANSI published a new edition, which incorporated recommendations from the American Society of Mechanical Engineers (ASME). The improved result is called ANSI/ASME A13.1, and it adds more details. Different kinds of hazards are assigned different colors, and some colors are set aside for user-defined needs. The 2020 revision added some new options, but kept the core of the standard intact.
The standard is extremely popular; OSHA has even included it in their specific OSHA pipe labeling requirements for some industries (as mentioned above). For other applications across industries and locations, OSHA has acknowledged this standard as "Recognized And Generally Accepted Good Engineering Practice" (RAGAGEP), making it a safe choice for most facilities.
If you don't know which of the pipe marking standards you should use, this is probably the best choice. It's so popular that we've written an in-depth article on ANSI/ASME pipe marking requirements, and you can also download a free chart for ANSI/ASME compliant pipe marking.
Pipe Marking for Ammonia Refrigeration Systems: IIAR Bulletin No. 114
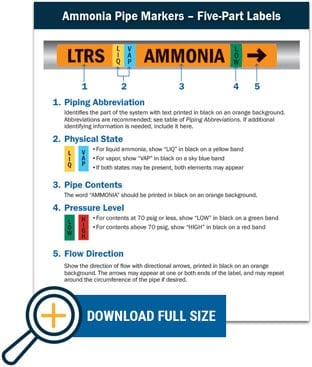 The common ANSI/ASME A13.1 standard can also be adapted to more specialized situations. For example, ammonia-based refrigeration systems include large networks of piping and machinery using ammonia pipe labels, with almost every pipe carrying the same material: anhydrous ammonia. The basic ANSI approach wouldn't clarify which pipe is which.
Rather than using that general approach, the leading industry group for ammonia refrigeration systems produced their own standard that builds on the ANSI system's foundation. The IIAR ammonia pipe labeling system starts with matching label size and color requirements, and adds further details and bands of other colors to provide effective ammonia pipe labels for large cooling equipment.
This industry standard is described in IIAR Bulletin No. 114. You can also find more details in this in-depth article on IIAR-style ammonia pipe marking, and download a free reference chart for the IIAR labeling system.
Water Treatment Pipe Marking: 10 States Standards
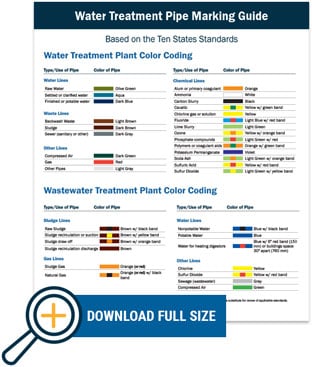 For some important applications, the ANSI system simply doesn't work well. Water and wastewater treatment plants, for example, may have miles of pipes that all carry "water" - but the difference between clean, potable water and raw sewage is important! These facilities typically follow a customized pipe marker color code for water pipe markers that allows for easy identification of a pipe's general category and its specific contents.
There are many different codes used for water pipe markers in this industry, with local regulations sometimes requiring a specific choice. The most popular standard for water plants is from the Great Lakes and Upper Mississippi River Board (GLUMRB), a consortium of industry experts. They created the 10 States Standards for water and wastewater treatment facilities.
For more information on this standard and its water pipe markers, download this free chart for "10 States" water treatment pipe marking.
Medical Facility Pipe Marking: NFPA 99
In some cases, a standard has been developed for use in one industry, and then adopted and expanded for another industry. This is the case with the NFPA 99 requirements for pipe marking in healthcare facilities.
Suppliers of compressed air and pure gases marked their containers with custom pipe labels according to shared industry practice, codified in the Compressed Gas Association's industry standard called CGA C-9. Hospitals and other healthcare facilities using these compressed gas canisters then extended the same pipe marker color code to the pipes in their facilities, and added elements to the code to meet their additional needs. Eventually, this approach was included into the NFPA 99 standard for healthcare facilities.
For help implementing and understanding the medical pipe marking requirements, see this free Pipe Marking Quick Start Guide.
Pipe Marking at Sea: ISO 14726
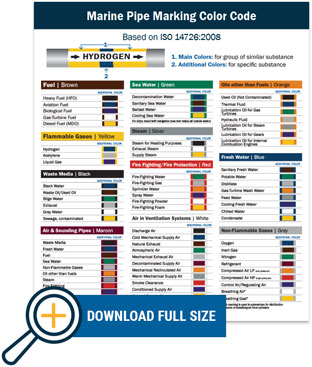 While the printed text on pipe markers is the most effective way to provide detailed information, it has one pitfall: words are limited by language. For ships at sea, or for offshore facilities, there may be a multinational crew at work-or an international rescue team. How can you ensure custom pipe labels are easily identifiable, even without relying on the text?
The International Organization for Standardization (ISO) has created their own standard pipe marker color code for this exact purpose. The ISO 14726 standard uses large sections of a solid color to indicate the general type of pipe system, and adds smaller bands of a different color to identify the specific contents of the pipe. These custom pipe labels give a workaround for the problem of language barriers, and is well-suited to the needs of marine facilities.
Knowing Your Facility's Piping System for Pipe Marking
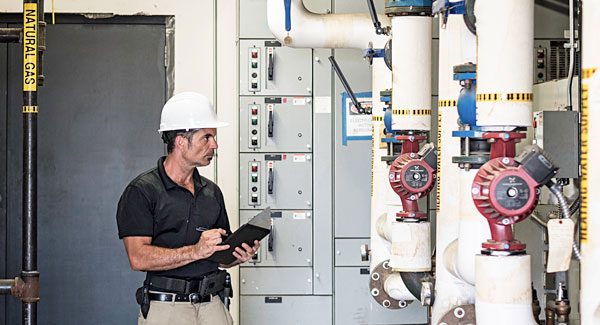
Once you know what pipe marking approach you will use, you'll need to be familiar with the actual piping system in your workplace. You need to see which pipes need custom pipe labels, where they are, and what they carry.
An easy way to start this process is to do a walk-through of your facility and take note of the pipes that you see. For some facilities, this may be all you need. For larger workplaces or more complex piping systems, you may need a map of the pipes, or even a formal diagram. However you start, keep your goal in mind: for this step, you want to create a list of exactly what pipework labels you will need, and where they will need to go.
Generally, any pipe that you can see should have pipe markers, and any pipe that can't be seen but is important for workflow, maintenance, or safety should have some indicator to show its location. It's most important to utilize pipe marking when a pipe meets one of these conditions:
- The pipe could pose a hazard to workers, like a pressurized ammonia pipe
- The pipe is part of a safety system, like a fire sprinkler pipe
- Workers will need to interact with the pipe during normal work, maintenance, or emergency response
Some standards have additional rules for which pipes they address.
Pipe Marking Piping and Instrument Diagrams (P&IDs)
If piping systems form an important part of your company's business operations, you may have access to a Piping and Instrument Diagram (P&ID). Be careful when relying on these diagrams: a P&ID doesn't necessarily offer a "map" of the physical locations of pipes. Instead, it will focus on how the different elements feed into each other. That information can be critical for applying pipe markers to your facility's piping systems, but it also may not tell the whole story.
On a P&ID, a pipe is shown as a simple line. The devices and connections are shown using piping symbols. There are hundreds of these symbols, but they are presented in a standardized way.
For example, the illustration below shows a 90-degree bend in a pipe (shown by the curved line), with five different joining methods used to connect the elbow to the straight sections.

From left to right, the piping symbols show these joints:
- Flanged (two lines)
- Screwed (single line)
- Bell and Spigot (curved line)
- Welded ("X")
- Soldered (circle)
The piping symbols that identify the type of joint are always the same, no matter what piping system or device it is showing. For more details on these symbols and how they are used, see our infographic on pipe fittings and their symbols.
Pipe Marking Process Hazard Analysis (PHA)
Another part of knowing your piping system is understanding the hazards that it might pose, and addressing those hazards—with the help of custom pipe labels—to keep your workers safe.
When piping systems include particularly hazardous materials like ammonia or flammable fuels, a Process Hazard Analysis (PHA) can be a key step in this process. A PHA consists of a careful review of potential problems, such as an ammonia leak, and what steps (like properly using pipework labels) should be taken to prevent those problems from occurring. In some cases, OSHA requires a PHA to be performed; this is described in 29 CFR 1910.119, OSHA's standard for Process Safety Management of Highly Hazardous Chemicals.
To perform a PHA for a process in your facility, follow this basic sequence:
- Identify any hazards posed by the process in question (a "hazard" is anything that could cause injury or loss).
- Take note of any previous incidents that caused serious problems, or any "near misses" that could have caused serious problems. These situations will provide more insight.
- Outline the changes in your workplace that could be made to reduce the risks involved with those hazards (reducing risk can mean reducing the likelihood of an accident, or reducing the seriousness of the outcome). The changes you make might include physical changes (engineering controls like applying more detailed pipe markers) as well as changes in processes or behavior (administrative controls).
- Break down the consequences that would result if those controls fail.
- Address any potential safety and health effects on employees in the event of failure.
Reviewing Existing Pipe Marking
If your facility already has some custom pipe labels in place, review them. Naturally, you don't want to do any unnecessary work by labeling what's already labeled effectively, but you also don't want to assume that something is good just because it's already there. Even if existing pipework labels are effective, it may be worthwhile to replace them with updated pipe markers that match a new approach.
Even after you finish your pipe marking project, you'll want to periodically repeat your walkthrough. This way you can ensure pipework labels are intact, legible, and accurate. Always replace any damaged, outdated, or worn pipe markers right away to maintain safety and prevent new hazards.
Getting Pipe Marking Done Right with DuraLabel
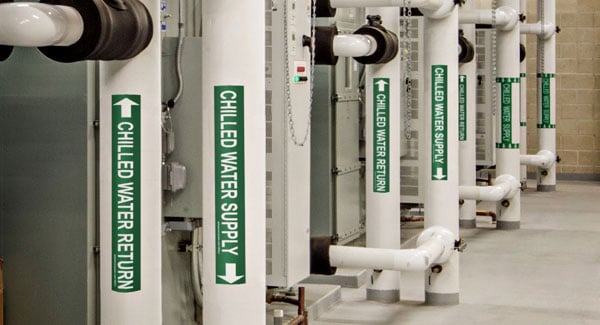
Knowing what pipe marking approach to use will help you understand how the custom pipe labels need to look. Then, knowing your facility's piping system will help you see what labels are needed. Now it's time to actually do the job.
For this step, you may purchase pre-made pipework labels and apply them, or get a printing system and make the custom pipe labels you need in-house. Then, you'll need to actually apply those labels.
Premade pipe markers are perfect for one-off labels, replacement labels, small piping systems, and other relatively simple pipe labeling projects. These labels ship to your facility ready to install, and can be ordered to exactly match your facility's needs under a given standard.
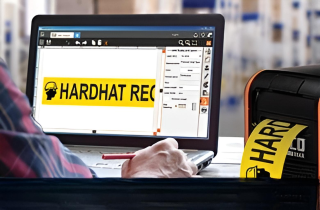
If you need to label a larger or more complex system, it may be better to use an in-house printer. DuraLabel printers are a powerful solution for this approach; they're fast and easy to use, with streamlined label design software, and the results will be as clean and professional as pre-printed labels. Additionally, you can produce custom pipe labels and signs for a variety of other labeling needs that your workplace may have. Consider a pipe marking starter kit that includes all the essential labeling supplies you'll need at a discounted price.
When applying a pipe marking directly to a pipe or covering is not possible, use a hanging valve tag or stand-off pipe marking sign blank; they're both ideal for small pipes, providing a durable base for labels. If pipes are difficult to label, or tend to get greasy and dirty, pipe grabber sleeves will protect the pipe markers and prevent damage. Where pipes are spaced far apart or out of reach, a pipe marker applicator is a great way to safely and securely apply your labels, even without a ladder.
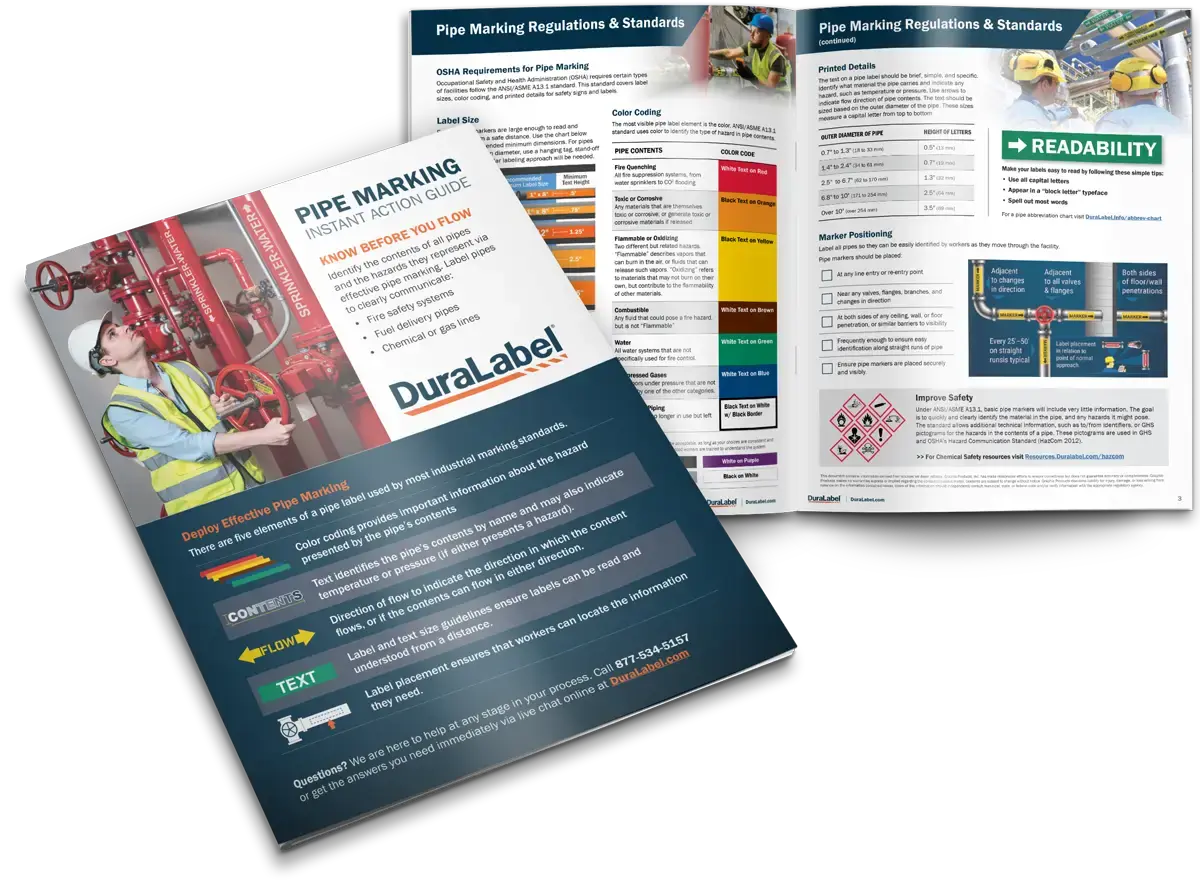
Completing your pipe marking project can be complex. DuraLabel's Pipe Marking Quick Start Guide covers the most common industry standards in this area, as well as giving guidance on creating your own color code and making sure your pipe markers are clearly visible. Download a free copy below!
Read Next:
Related Resources

BS 1710 British Standard Pipe Marking
British Standard 1710 (BS 1710) provides a robust framework that fulfills the pipe marking requirements set ...
Read
Pipe Marking & Pipe Corrosion Control
The Silver Eagle Refinery explosion released a tidal wave of broken glass. Homes were pushed off their ...
Read
How to Meet IIAR Standards for Ammonia Pipe Marking
For safe operations and maintenance, its important employees know what's inside the pipes they're working ...
Read.png)

