Ammonia Pipe Marker
Video Transcription
When working with ammonia systems, safety is everything.
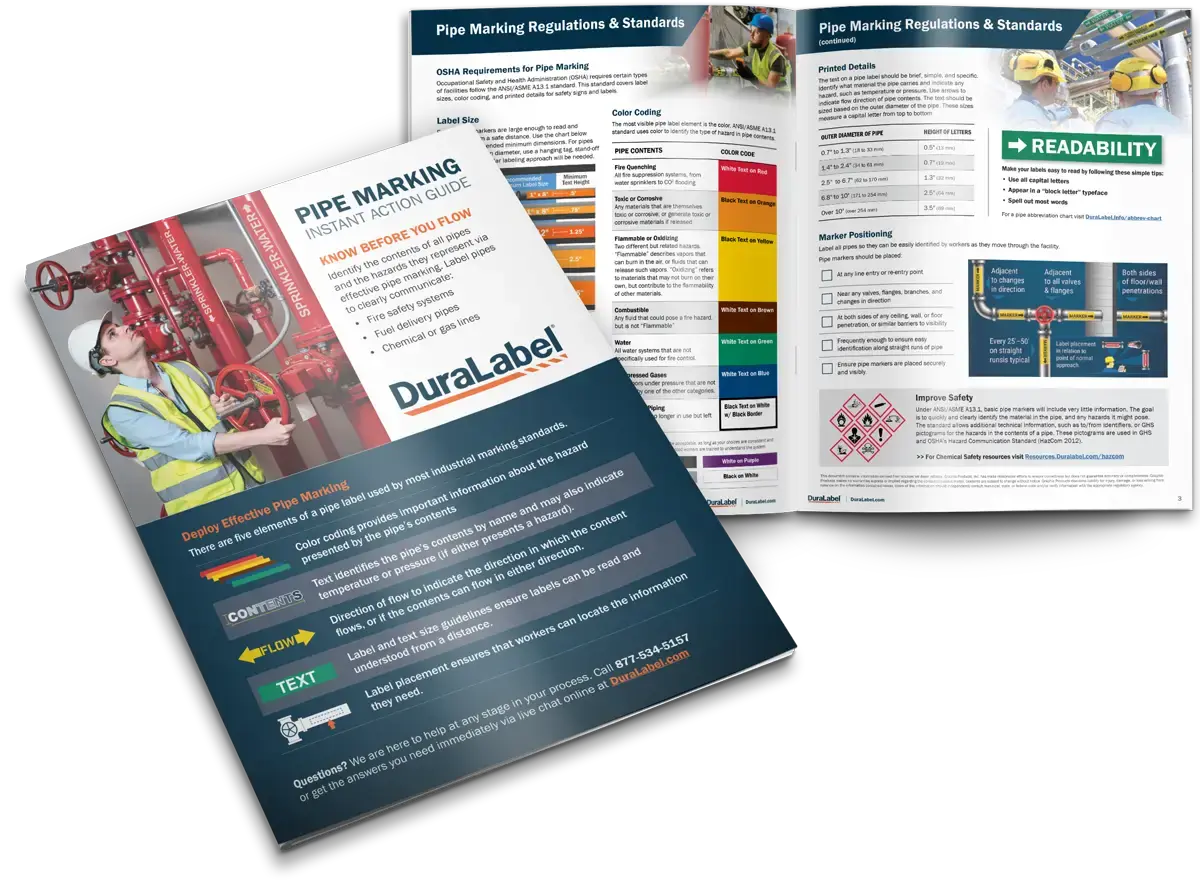
Proper pipe marking is crucial for ensuring that your facility meets safety standards and protects your team. In this video, we'll show you how to create a custom ammonia pipe marker using DuraLabel Toro Max. Ammonia pipe marking standard IIAR. Bulletin 114 requires that ammonia pipe markers contain five parts.
Ready to elevate your safety practices? Let's get started. To create our ammonia pipe marker, we are using a Toro Max industrial sign and label print system loaded with our 2 inch wide premium vinyl, black premium ribbon, along with some pre made ammonia color bands. First, open the lid of your Toro Max and load your black ribbon cartridge and 2 inch orange premium vinyl into your printer.
Close the printer and turn it on.
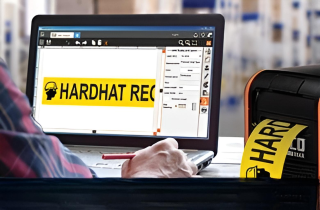
Utilizing the preloaded LabelForge Pro software makes ammonia pipe marking really easy. Open up the pipe marking module and select ammonia pipe marking from the drop down menu. Start by selecting the pipe diameter, which will automatically load the compliant label size. You can adjust this label size manually, but remember reducing your label width from the recommended will take you out of compliance.
With the ammonia text already placed for you, next choose the piping abbreviation specific to your job. We are choosing the pump out physical state, which for this application will be liquid, indicated by LIQ. The module will provide a convenient placeholder to apply a separate ammonia color band later. Two physical states can be applied at once if required for that specific ammonia pipe marker.
If you have the correct supply types, Toro Max can also print the ammonia color bands from this module. If you need to create an ammonia component marker, select the option from the pipe legend.
This will provide you with a list of component text and pressure level placeholder.
Text will scale to fit the label as determined by the IIAR standard. Next, select pressure level of the pipe contents. For this particular pump out ammonia marker, we're choosing low pressure. Now, you can add arrows to indicated flow direction.
Once your label is set up, hit print. DuraLabel Toro Max will produce a high quality label tough enough to stand up to harsh industrial conditions.
Now you're ready to apply the marker to your pipes. Be sure to place the ammonia color bands correctly.
This includes the proper spacing and ensuring the directional arrow is clearly visible. And that's it. With DuraLabel Toro Max, you can easily create compliant ammonia pipe marking labels that enhance safety and efficiency in your facility.
Don't forget to check out our website for more helpful pipe marking resources, printers, and supplies.
Thanks for watching. And remember, safety starts with clear communication.

.webp)
.webp)