How To Create Ammonia and Component Pipe Markers with LabelForge PRO
Video Transcription
This video will describe how to create an ammonia pipe marker or component marker using the LabelForge PRO software. These labels follow the IIAR Bulletin number 114 recommendations for labeling ammonia-based refrigeration systems.
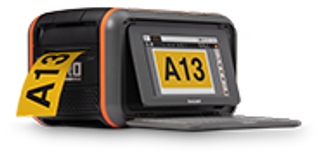
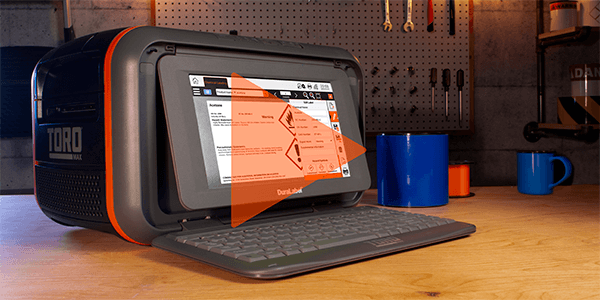
On Kodiak, click the Pipe Parking button on the home screen to get started. Using the module selector at the top of the screen, choose ammonia pipe marking. General pipe marking has its own how-to video.
For the printed content of the label, look in this pipe legend area. Start by choosing whether you will make a pipe marker or a component marker with these tabs. The steps for each are similar.
Choose the piping abbreviation or the component name from this list. If you don't see the entry that you need, you can add it to the list with the Add button.
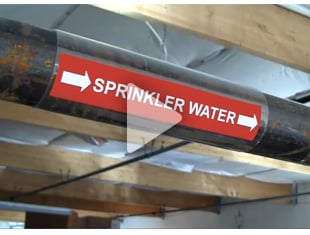
For pipe labels, you can add arrows to show the direction of flow by clicking one of these dotted squares.
Choose the arrow and style that you prefer.
If you want the same arrow to appear at each end of the label, click this box for apply to both. You can close this menu by clicking the X button in the corner, or by clicking on the dotted square again.
To choose a physical state for the ammonia in a pipe, or to choose the pressure level for the ammonia in a pipe or component, click the appropriate dotted rectangle. You can also print these smaller labels separately, from this menu. Again, you can close the menu by clicking the X button, or by clicking the dotted rectangle again.
To choose the dimensions of your label, look in this label size area.
For pipe markers, you can select the pipe diameter in this dropdown to automatically select the recommended label size.
Component markers always have the same recommended size. If you prefer, you can also set the label dimensions manually with these fields.
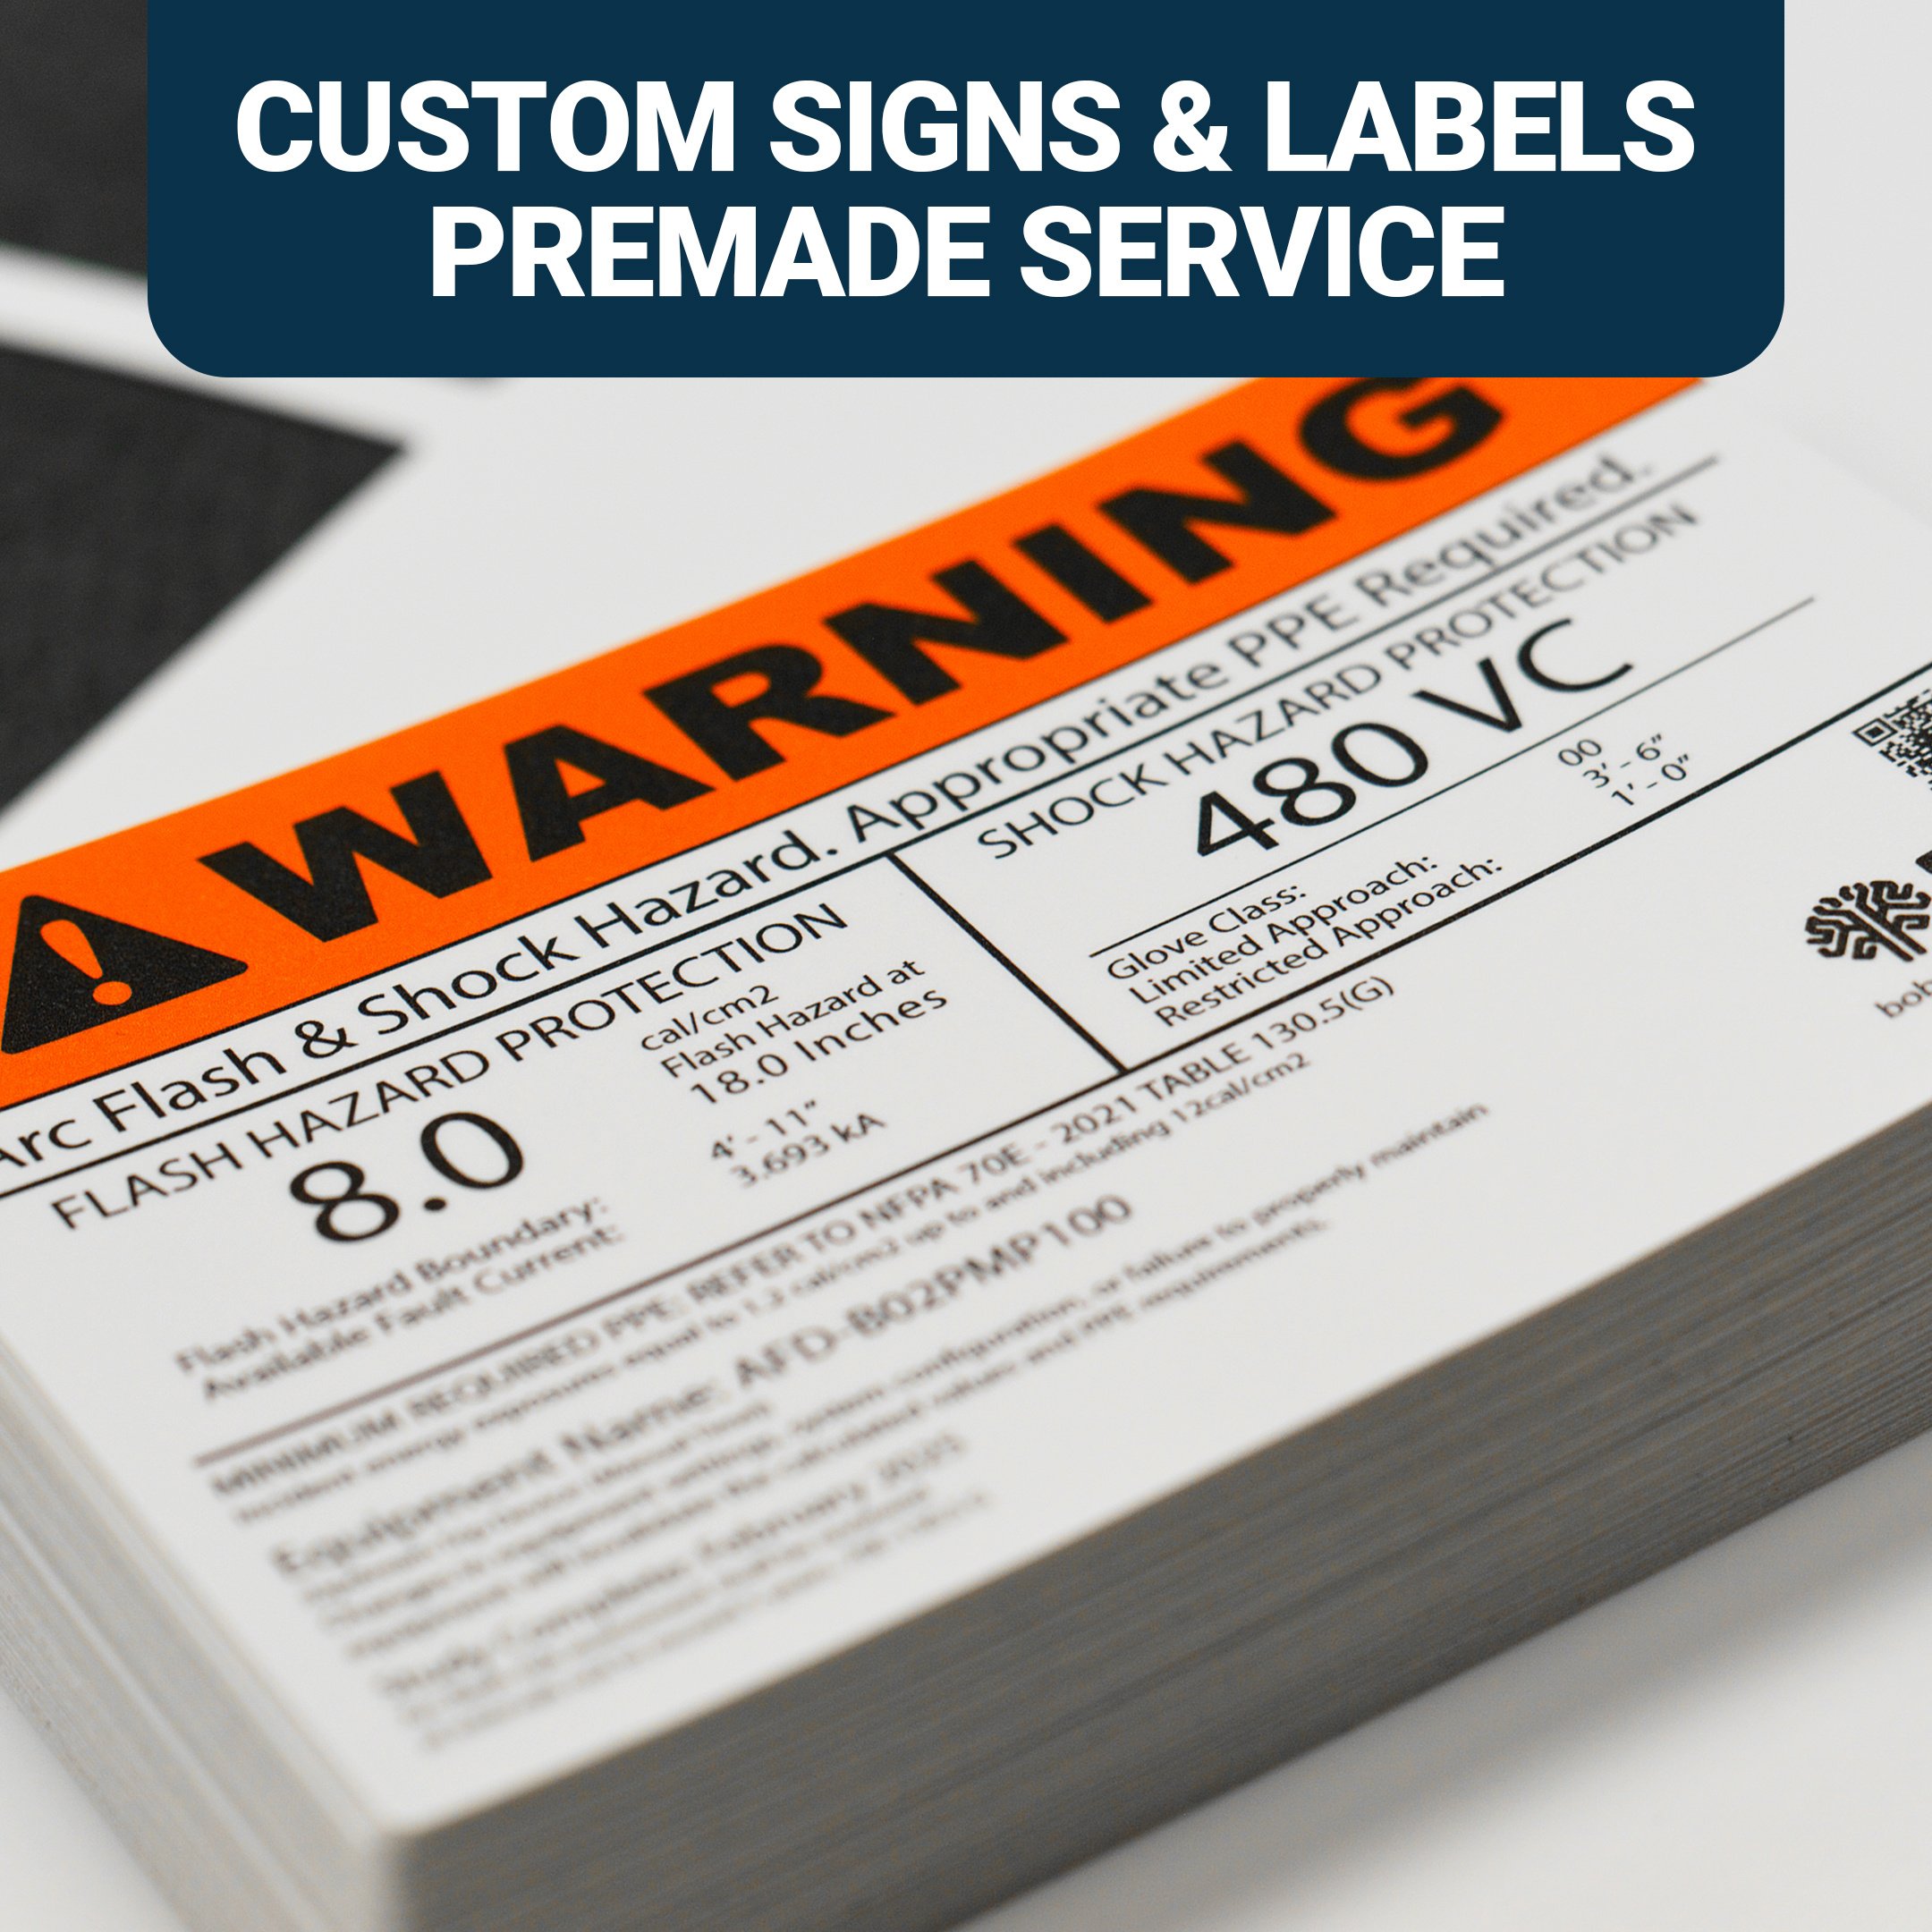
For additional settings, look in this Settings area. Here, you can choose between the current standards' orange background, or the older yellow background. You can also set a font for the text with this dropdown, or manually adjust the sizes of individual parts of the label with these fields.
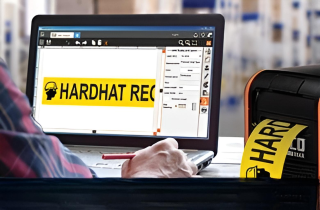
Once you've made all of your selections, you can save the design for later, using the Save or Save As buttons, export the design for further customization with the Export button, or start printing right now.