Lockout Tagout Procedure
There are two parts to the lockout process: The Lockout and Re-energizing. Both pose potential life-threatening issues and need to be taken equally seriously. Let's start by looking at the first part of the process.
Start by notifying all affected employees. Then identify all energy sources and completely shut off energy to the affected equipment. Next, isolate the equipment from the energy source.
Apply the lockout/tagout equipment by affixing locks and tags to each energy source controlling device. any stored energy from capacitor banks, springs, compressed air, steam, hydraulics, etc. Finally, verify the isolation of energy has occurred by trying the equipment. You know-just in case.
Then, get to work, and perform all servicing or maintenance. Once the work is done, it's time to reverse the process and get the energy flowing again. Ensure that nonessential items are removed from equipment, like tools and parts. Ensure the equipment components are intact and have been reassembled correctly.
Then, make sure all those affected employees are safely positioned away from the equipment and know what's going on. Confirm that all controls are still in the "off" position, then, remove lockout/tagout devices and reconnect the energy source.
A Lockout Tagout program can reduce injuries and save lives so long as everyone is aware and a part of the program, the procedures are closely followed, the correct lockout equipment is used, and we always double-check the power is off.
For more videos like this, subscribe to our channel, or for more information on Lockout Tagout or the equipment used, visit GraphicProducts.com.
Related Resources

What is 5S?
Do you know what 5S means? The 5S System is a lean manufacturing tool designed to improve productivity ...
Watch Now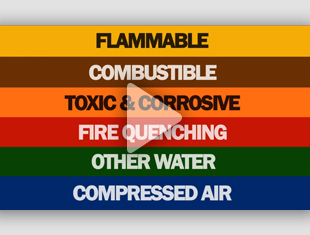
ANSI/ASME Pipe Marking Color Code
Do you know the contents of this pipe? Or that one? Having facility pipes clearly marked with compliant ...
Watch Now
What is Pipe Marking
Pipes, lines, tubing, conduits while the terminology varies, the problem is always the same: Workers, site ...
Watch Now.png)

