Create HCS HazCom 2012 Compliant Labels with DuraSuite
03 February, 2023
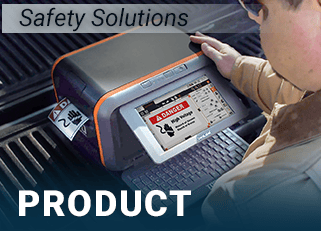
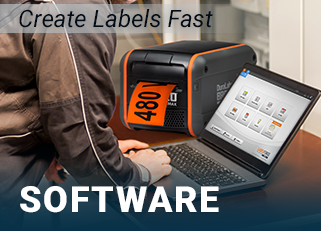
Now, you can produce Hazcom 2012 labels aligned with the Globally Harmonized Standard using DuraSuite Labeling Software's HCS / Hazcom 2012 Module.
Start by opening DuraSuite Software. Click the Globally Harmonized System icon, and then click HCS / HazCom 2012. Choose from 7 template sizes using this drop-down menu. Browse DuraSuite's chemical database of over 1500 chemical templates searchable by: Product name, UN number, CAS number or EC number. Be sure to print out a Safety Data Sheet for each chemical you plan to make a label for. Safety Data Sheets contain much of the information you'll need to populate your HazCom 2012 labels If you're missing a safety data sheet, request one from your supplier, or contact the chemical manufacturer directly. Even if you have an up to date MSDS you'll need a safety data sheet to ensure you have all the information required for a HazCom 2012 label.
To create a label from scratch, click the New Label button on DuraSuite's toolbar. A HazCom 2012 label template will appear. Enter the chemical name here. There are two edit modes for the HazCom 2012 module: Basic Edit and Advanced Edit. Basic Edit is the default mode when a new label is created. The Basic Edit mode automatically populates the hazard pictograms, and the signal word based on your choice of hazard statements. The Advanced Edit mode allows you to manually change the hazard pictograms, hazard statements and the signal word. Unlike Basic Edit mode, these fields are not populated automatically. The Advanced toggle button is located here. Click to go back and forth between Advanced and Basic Edit modes. Note that while in advanced mode, the safeguards built into the module will be disabled. Make sure that any label changes do not affect its compliance.
HazCom 2012 label templates include the Hazard Statements and Precautionary Statements in their entirety as provided by the standard. Use the button next to the Hazard Statements field to open the Hazard Statements menu. If you are in Basic Edit, clicking this button will bring up a Hazard Categories selection window. Double-click on a hazard heading to view the hazard statements or by choosing the Expand All option. Select the appropriate statement, using your Safety Data Sheet as a guide. Now click OK. The hazard statement you chose now appears on your label template. If you are in Advanced Edit mode, the Hazard Statements menu will allow you to choose from the complete list of hazard statements. Since the Advanced Edit mode does not automatically populate the hazard pictograms and signal word it requires a higher degree of user knowledge to make sure your labels meet chemical labeling requirements.
To add a precautionary statement, click on the Precautionary Statements button and select appropriate entries from the menu that appears. With your choice highlighted, click the arrow to the right of the menu or double-click on the selected statement. When finished, click OK. The entries you chose now appear on your Hazcom 2012 label template. Include the chemical supplier's name and contact information on your Hazcom 2012 label. Click the button to the right of the Supplier Information field to open the edit window. Enter the chemical supplier's contact information in the fields provided. When finished, click OK. The supplier's information is displayed on your label template and is stored in the module database for future needs. In Basic Edit mode, the label's Signal Word is selected automatically, based on the hazard statements selected. You can change a label's Signal Word in Advanced Edit mode. Choose Danger or Warning from the Signal Word drop-down menu. Your choice will be saved with your label.
Changing the signal word should only be done by an authorized person at your facility. Appropriate pictograms are chosen based on the hazard statements you selected, though you can add or remove them. With the Advanced button selected, click the button next to your label template's pictogram section. The pictogram selection window will appear. Select from GHS aligned unique pictograms. A HazCom 2012 label template can accommodate up to five hazard pictograms. Move the pictograms you want to include from the Available section to the Selected section, using the arrow provided. You can also remove a pictogram from the Selected section using the appropriate arrow. Click OK to add the pictograms located in the Selected section onto your label template. Click the toolbar's 'Save Label' icon to save and display your label. Make sure your DuraLabel printer is loaded with the correct size and type of supply. HazCom 2012 labels require pre-printed black mark label supply with blank red diamonds.
When you're ready to print, select File, then print. Click the Preferences button and select the Stock tab. Now select Labels With Marks from the Type drop-down menu. Click OK, then print. Your HazCom 2012 label will print to your specifications. If your Hazcom 2012 labels need additional customized information, click the export button and save the label to a specific location. The only option is to save as a DS Custom Label File. Browse to the file and it will open in DuraSuite's Label Designer module. From here, you can add custom textboxes and other information. When altering an exported label, do not change the location of the pictograms, or they'll no longer align with the pre-printed red diamonds. For more information, call 1-888-326-9244, or visit us online at DuraLabel dot com.
.png)
