Updated on: February 3, 2026
2 MINUTE WATCH
Published on:
Feb
08,
2024

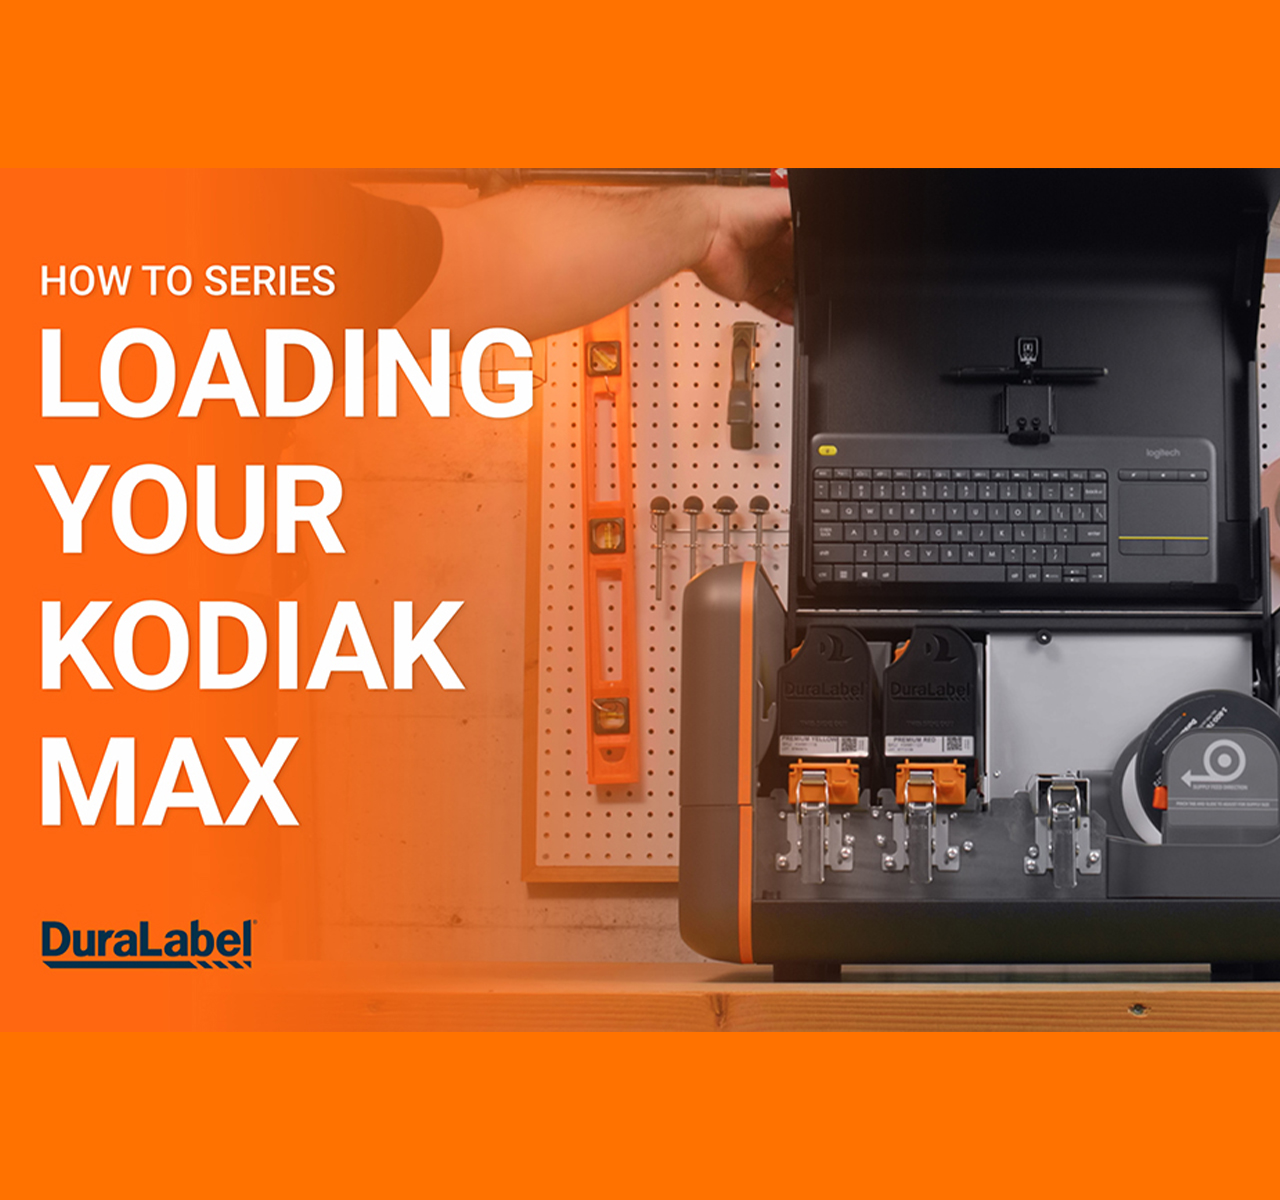
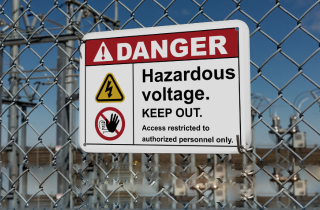
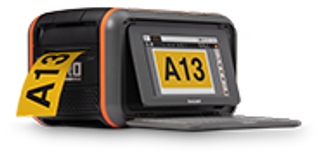
How-To: Loading the Kodiak Max Industrial Label Printer
Dive into the world of efficient and hassle-free label printing with your new Kodiak Max industrial sign and ...
Watch Now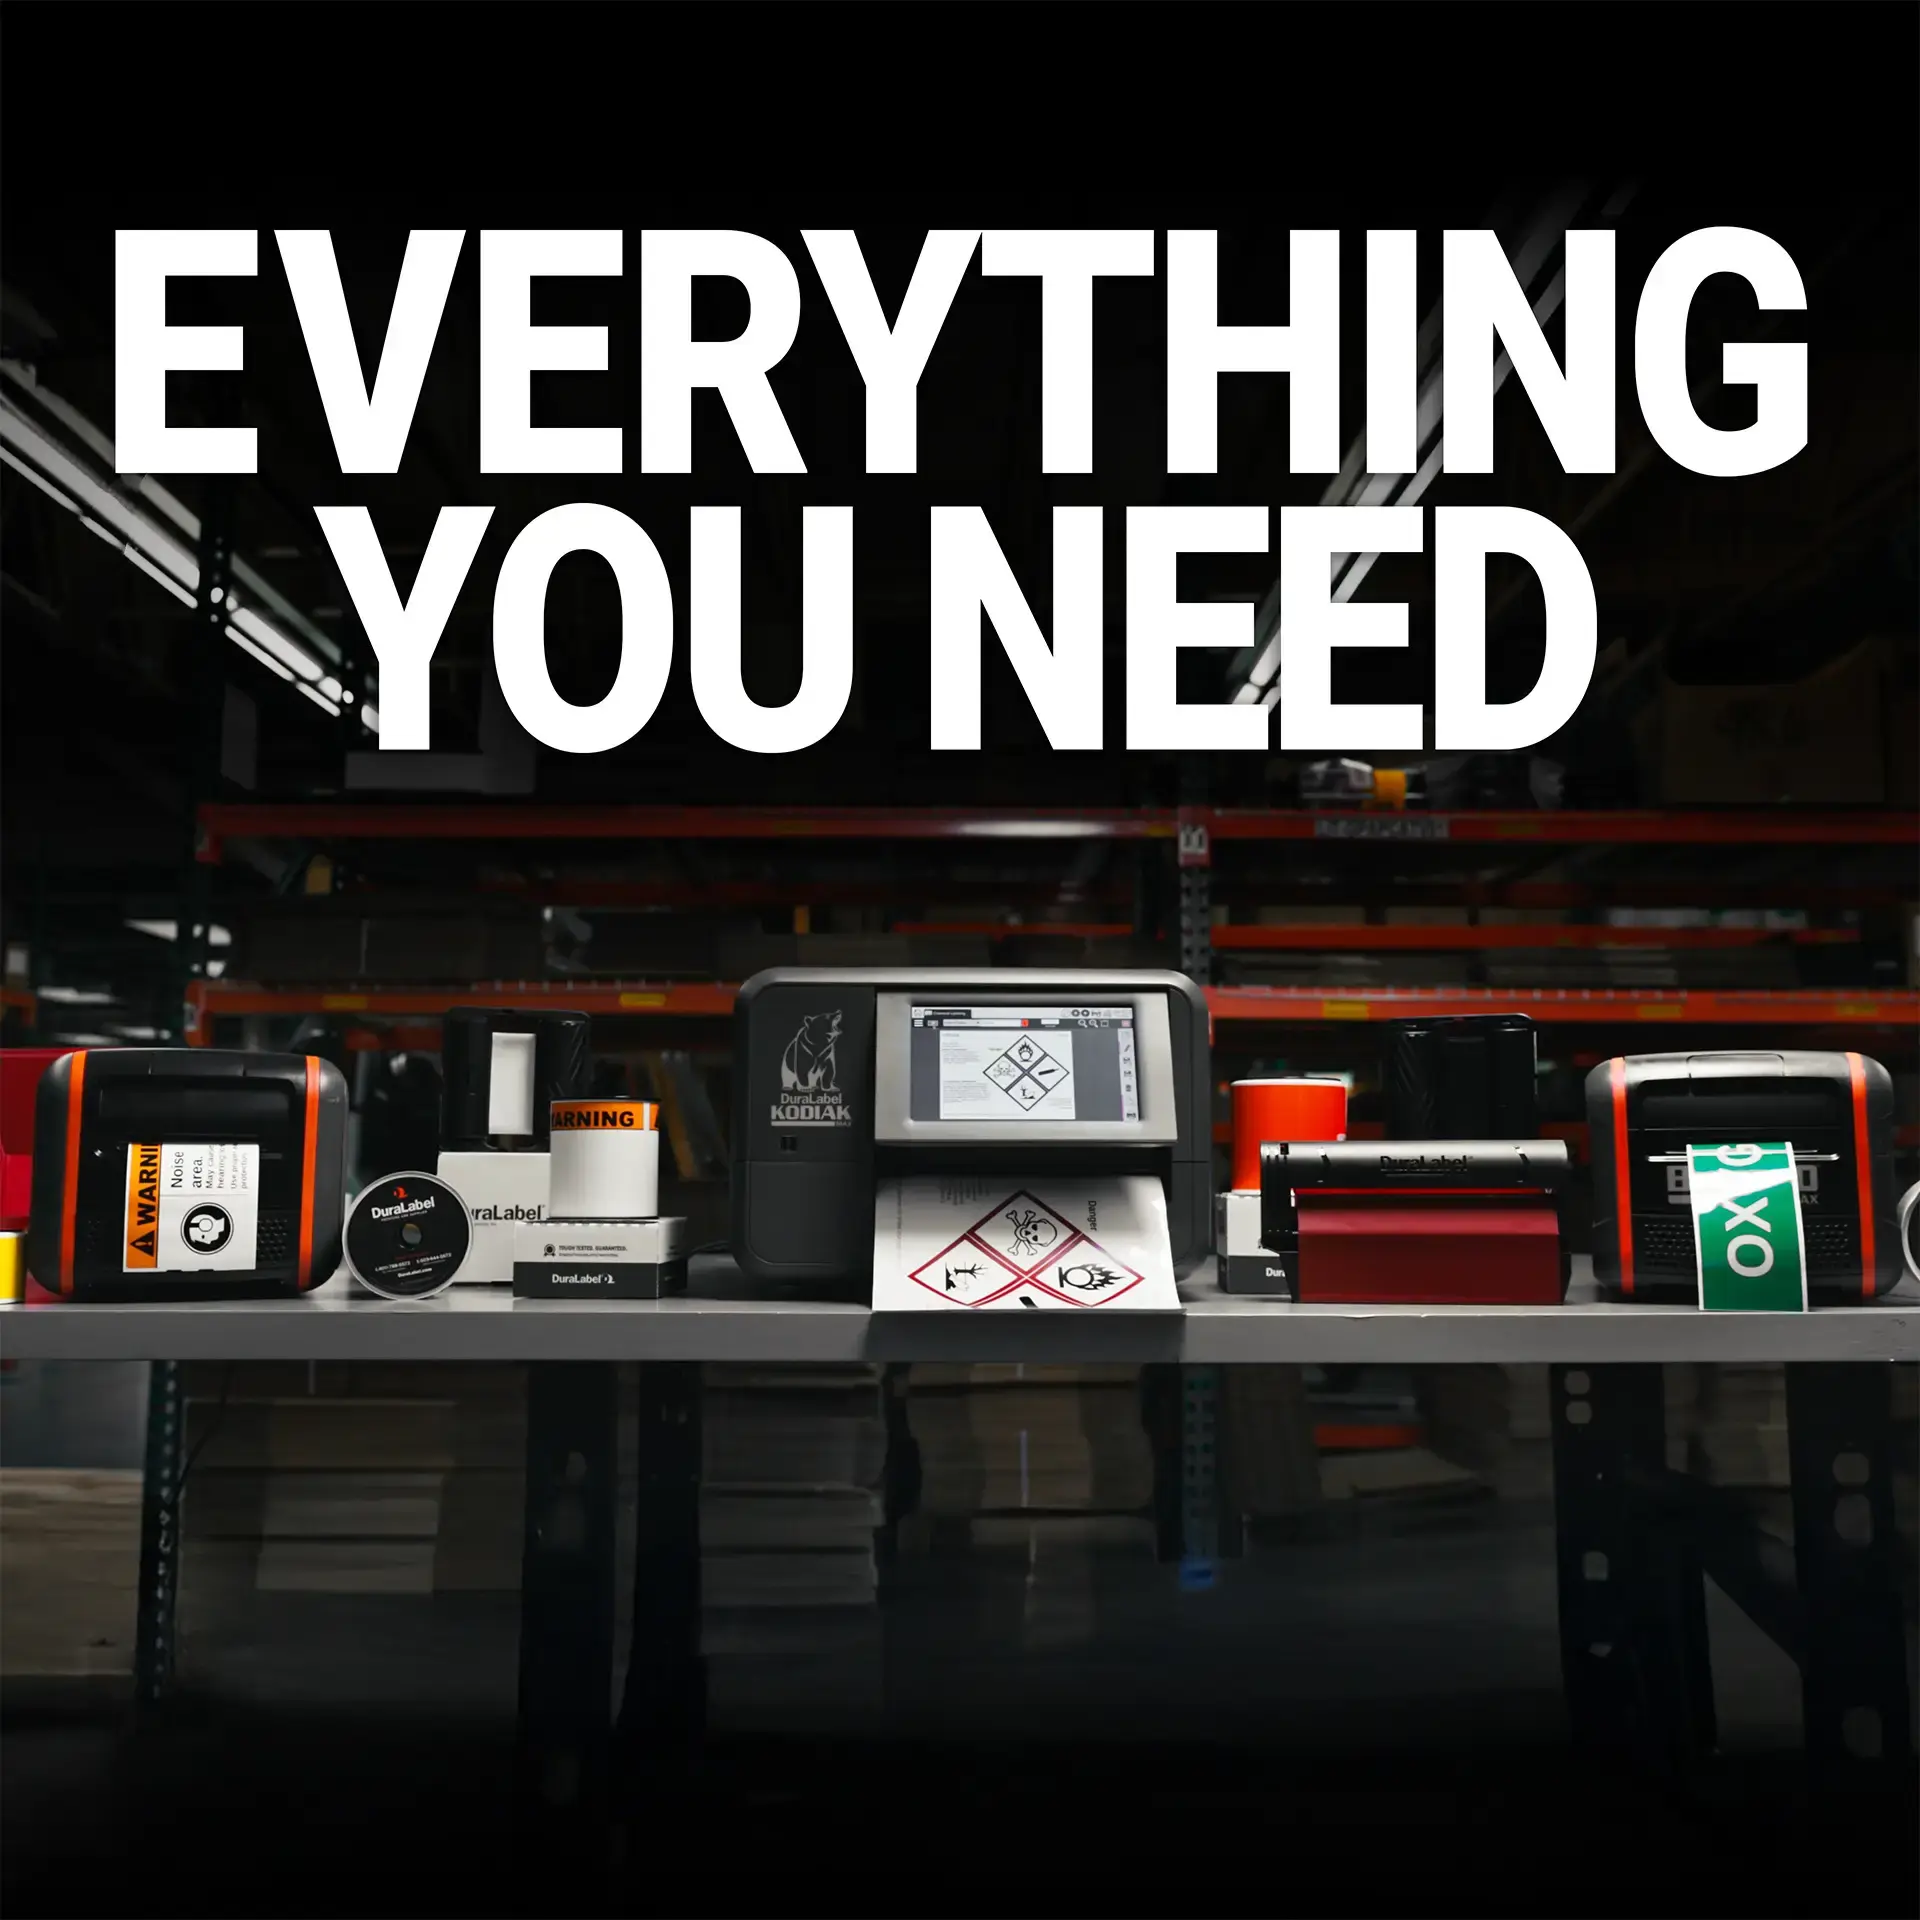
DuraLabel Max Line Industrial Printer Bundles & Starter Kits
Tackle compliance, safety and organization projects with DuraLabel Max Line Printer Bundles and Starter Kits. ...
Watch Now
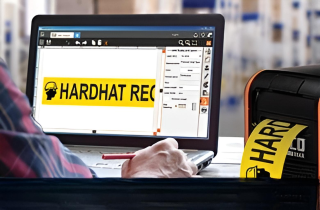
How-To: Merging a Spreadsheet in LabelForge
Merge a Spreadsheet in LabelForge Video Transcription The LabelForge labeling software allows you to create a ...
Watch NowGet Started
Print Your Own Signs
Free Label Design Software