How To Create Pipe Marking Labels?
Video Transcription
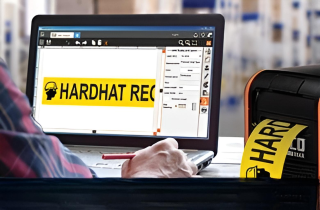
This video will describe how to create a pipe marker or pipe label using the LabelForge PRO software. These labels can meet the requirements of the ANSI/ASME A13.1 standard for facility pipe marking.
On Kodiak, click the Pipe Marking button on the home screen to get started.
By default, you'll be able to start making a basic pipe marker immediately. You can also select a different type of pipe label in the module selector here. Ammonia pipe marking has its own how-to video.
For the printed content of the label, look in this pipe legend area. Type the text that should appear on your label in this text field here. You can also choose the font and the text size, shown in inches by default.
To add arrows that show the direction of flow, click one of these dotted squares and choose the arrow and style that you prefer. If you want the same arrow to appear at each end of the label, check this box for apply to both. You can close this menu by clicking the X button in the corner, or by clicking on the dotted square again.
To choose the dimensions of your label, look in this label size area. By default, the label will stretch to fit the text that you type. You can also set the size of the label and have your text stretch or squash to fit, or you can choose a label size and have the text simply be centered using no automatic resizing.
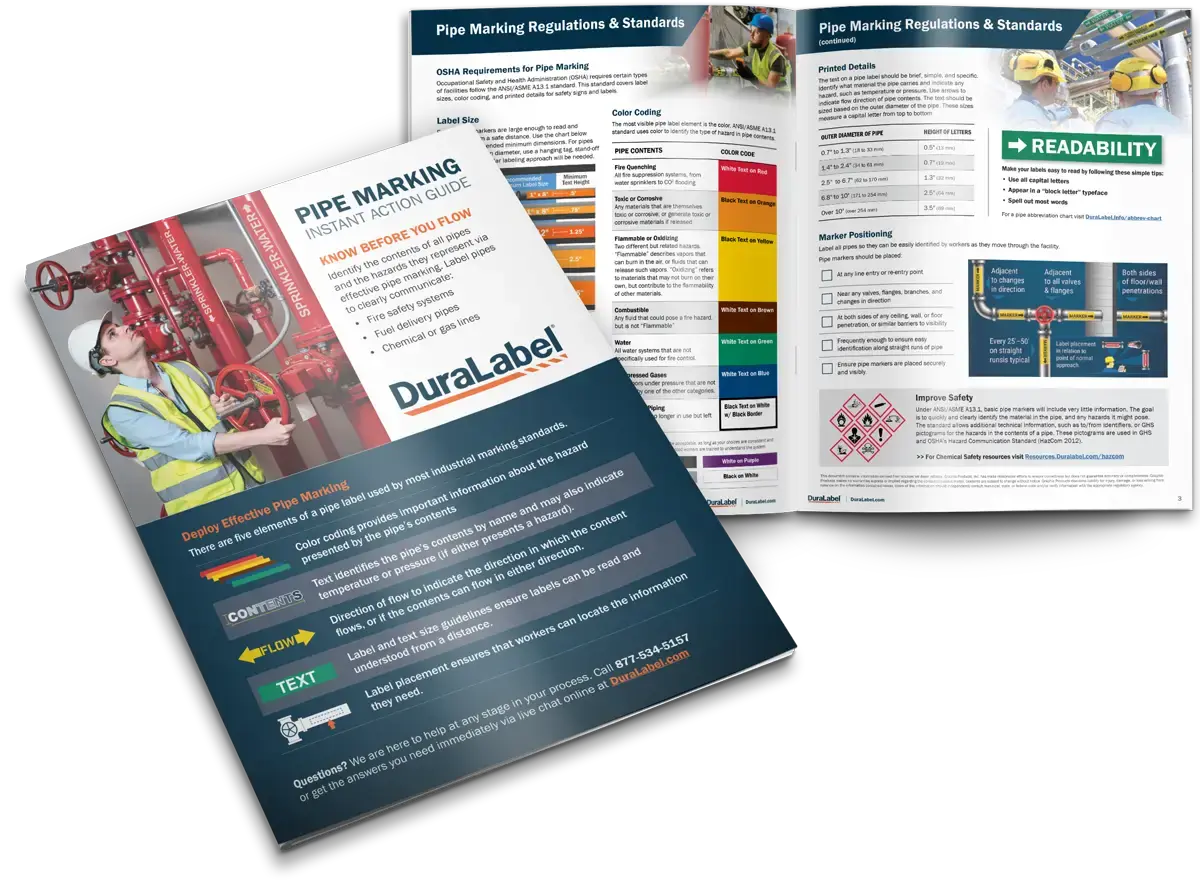
For ANSI/ASME A13.1 standard pipe marking, you can select the pipe diameter in this dropdown to automatically select the recommended label size. If you prefer, you can also set the label dimensions manually with these fields.
For special formatting choices, look in the formatting area.
Here, you can choose a background color for the label. The text color will be either black or white, chosen automatically. You can choose landscape orientation with horizontal text, or portrait orientation with vertical text.
Finally, you can choose whether this label will be a pipe wrap, visible from two sides of the pipe. If so, you can also choose whether the label will be applied to the top of the pipe.
Once you've made all your selections, you can save the design for later, using the Save or Save As buttons, export the design for further customization with the Export button, or start printing right now.

.webp)