<img height="1" width="1" style="display:none" src="https://www.facebook.com/tr?id=672348691155252&amp;ev=PageView&amp;noscript=1">
Skip to content

How-To: Full PathFinder Floor Marking Tape Walkthrough

Updated on: February 3, 2026 3 MINUTE WATCH Published on: May 22, 2024
 Welcome to our comprehensive walkthrough on DuraLabel PathFinder Floor Marking Tape! In this video, we'll guide you through the entire process of removing, cleaning, prepping, and applying DuraLabel Floor Marking Tape in your facility. We specifically used our heavy-duty RIGID™ floor marking tape in this video to provide a durable, versatile, and compliant solution in the production facility's high foot traffic area.
 
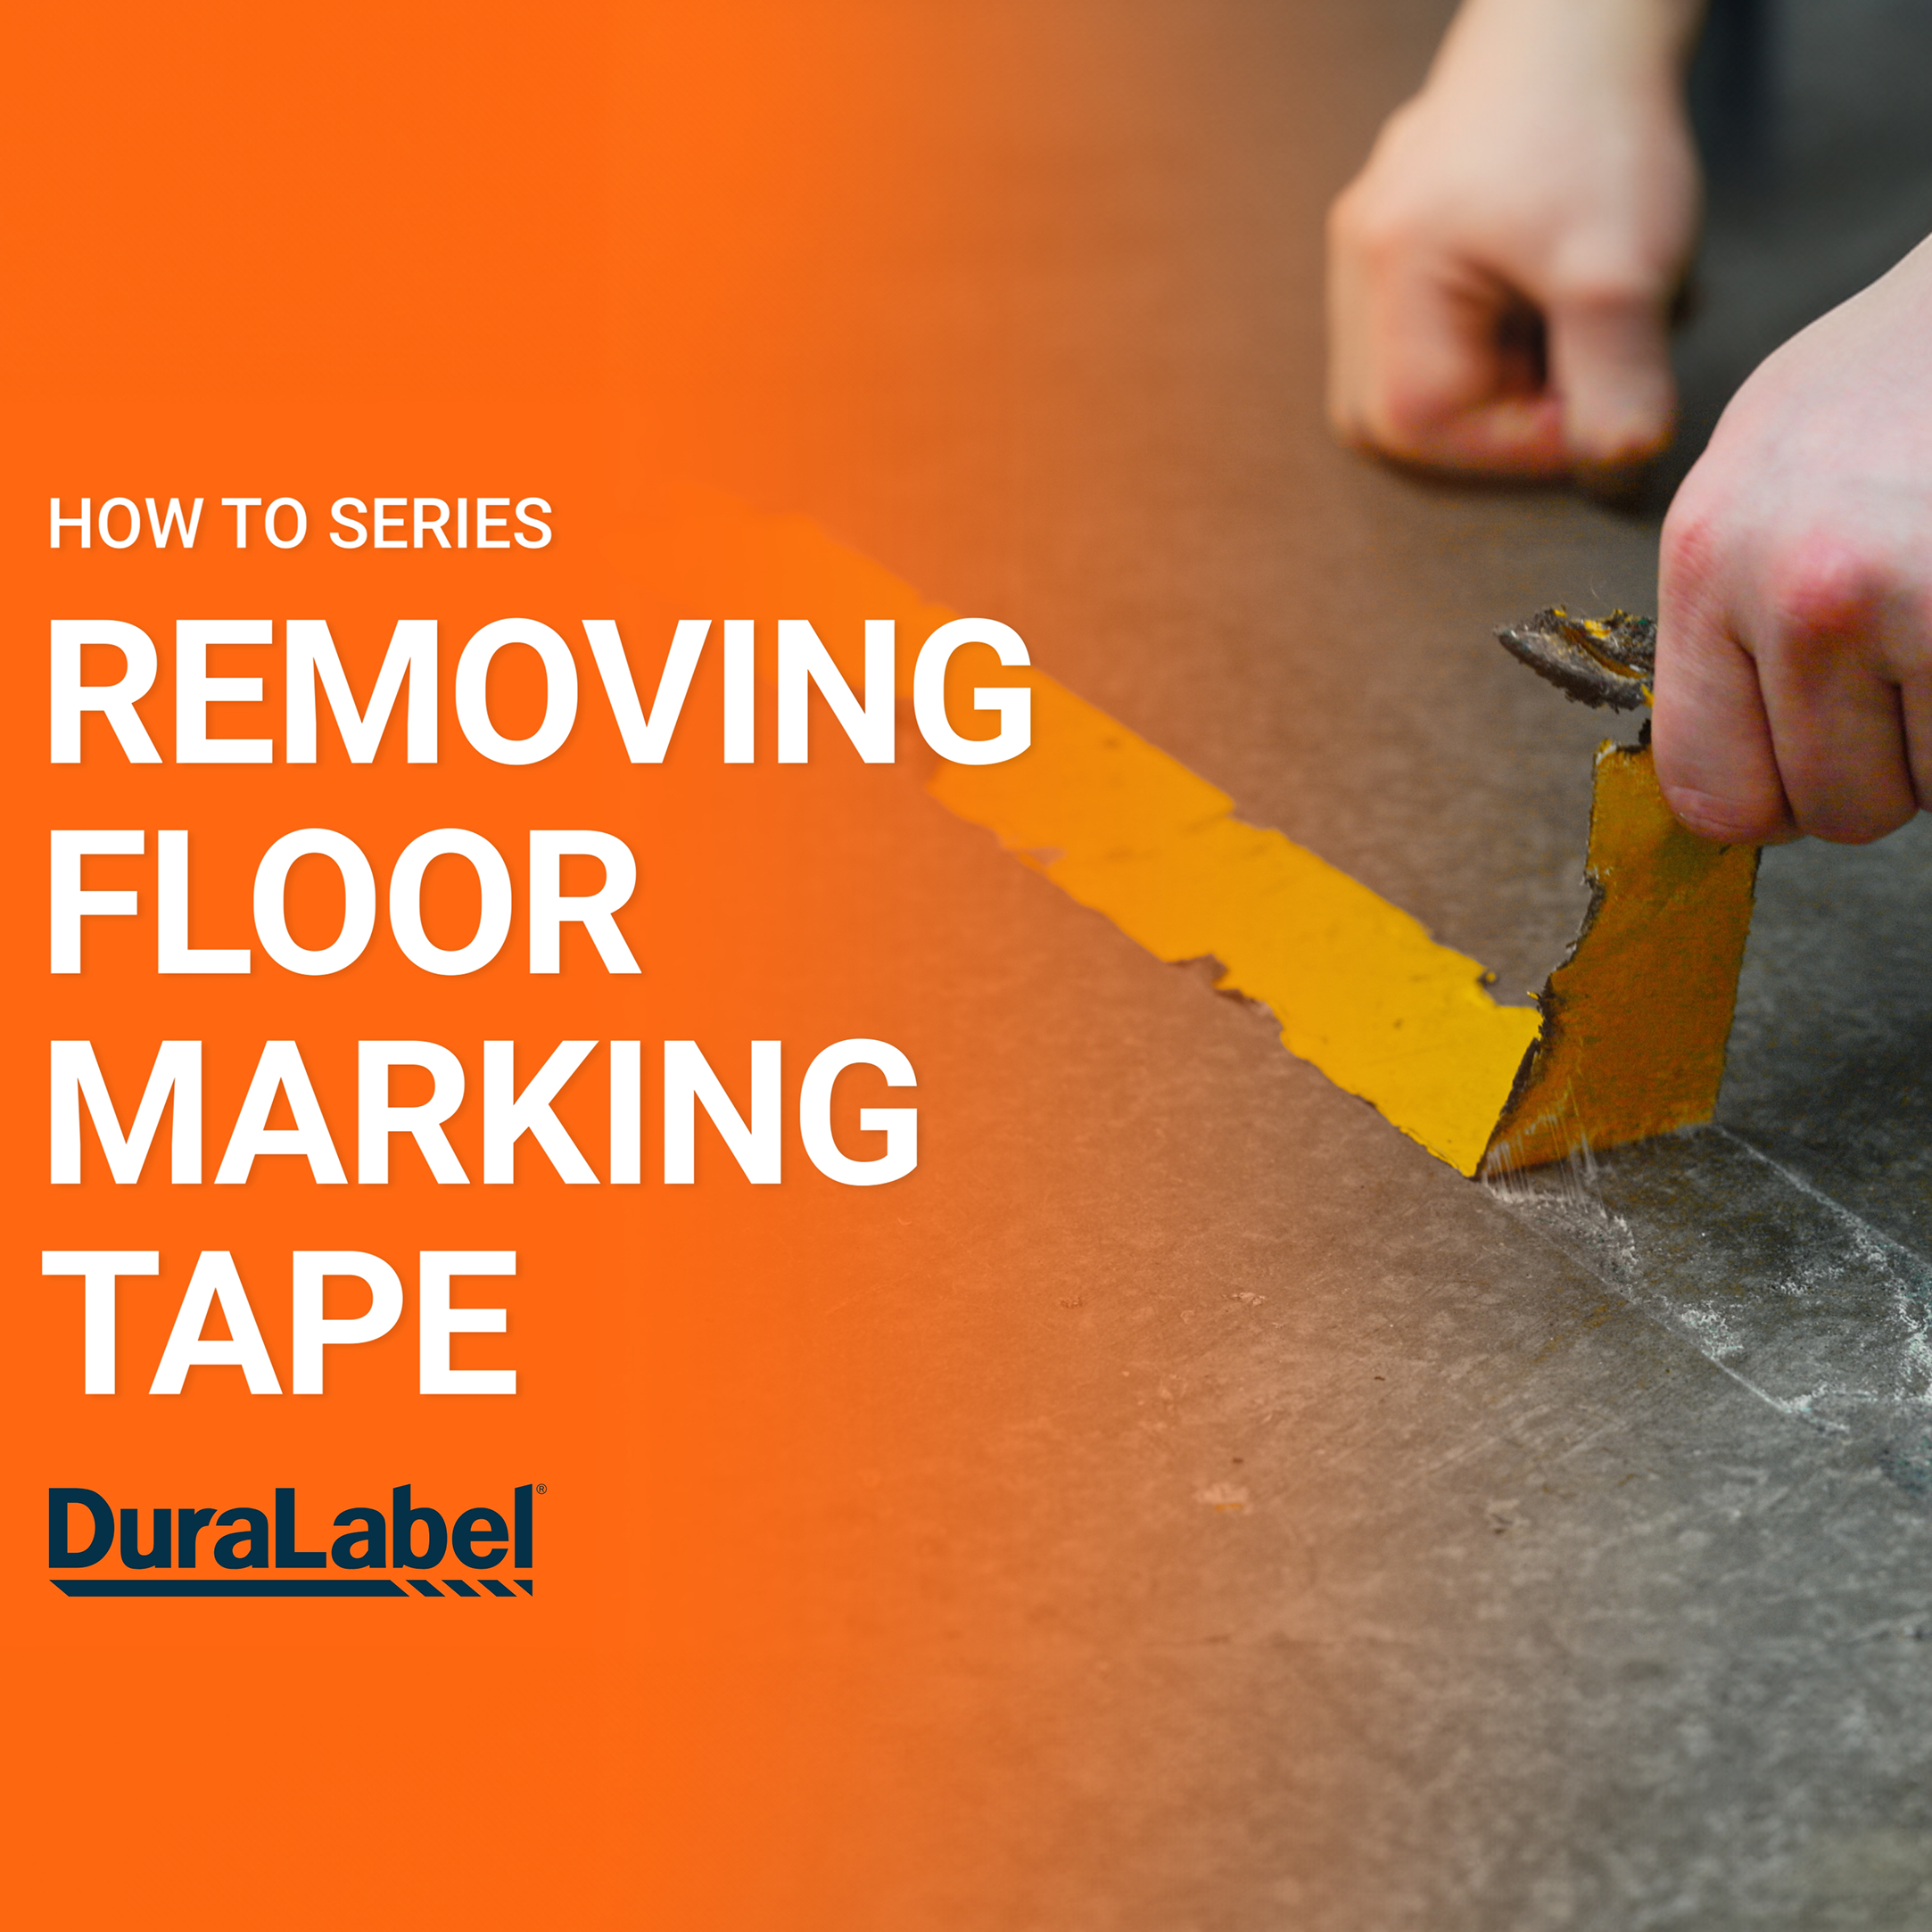
Floor Tape Removal Instructions:
1. Clear the area of any obstacles or equipment.
2. Use a heat source, such as a heat gun, to soften the adhesive. This makes tape removal easier. 
3. Begin at one end of the tape and slowly peel it back at an angle. Apply steady, even pressure to avoid tearing or leaving residue. 
4. Work your way along the length of the tape, continuing to peel it back slowly and carefully. If the tape resists, apply more heat to soften it. 
5. If the floor tape intersects or overlaps in areas, cut through the tape along the intersection lines carefully using a tool, like a utility knife. 
6. Clean the area using a commercial adhesive remover or a mixture of warm water and mild detergent (see floor prep instructions).
7. If necessary, loosen leftover residue with a heat source. Scrape the softened adhesive residue with a scrub brush or putty knife to remove it.
8. Use isopropyl alcohol on a cloth to ensure the area is thoroughly cleaned. Let dry. 
 
Floor Preparation Instructions:
1. Clear out and block off the area where applying tape.
2. Sweep up any dirt or debris from the floor.
3. Clean the floor with a general cleaner (avoid citrus-based). Scrub with clean rag or brush.
4. After it’s dry, wipe the surface with Isopropyl alcohol to remove any leftover residue and let it dry.
 
Clean Floor Test:
1. Cut a small square of tape from your roll.
2. Stick to the floor for 10 seconds.
3. Peel off and check the adhesive side. If there’s dirt or debris, repeat floor preparation steps until the clean.
 
Floor Tape Application Instructions:
Clean, properly-prepared floors allow for long-lasting, strong tape adhesion.
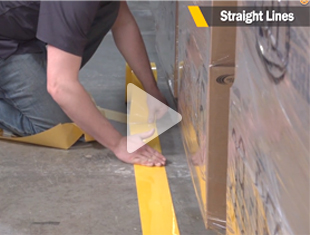
1. Plan out the tape path. For straight lines, use a string, laser, or chalk to mark reference points on the floor.
2. Remove a section of blue liner and apply the adhesive side of the tape to the floor along the reference marks.
3. Unroll a few feet of tape, remove the liner, and press the tape down for good adhesion.
4. Continue unrolling and pressing down the tape until the desired area is covered. Use marks to keep straight.
5. At the end of your line, cut tape using scissors or blade.
6. Once a full line of tape is applied, press down firmly across the entire length. This ensures a strong bond.
7. After applying all tape, check that it’s securely adhered to the floor, especially along the edges and corners. Press down on any areas that may need extra adhesion.
 
Timestamps:
0:10 Step 1: Tape Removal
0:13 Useful Tools
0:58 Step 2: Prep & Clean
1:23 Final Step: Tape Application
1:57 Finished Application
2:05 Before & After Removal
 
Additional Resources:
 

How To Apply Floor Marking Tape?

Video Transcription

In this tutorial, we'll be showing how to remove preexisting tape, prep for, and apply your new DuraLabel floor marking tape. Let's get started on transforming your floors.

The first step being tape removal. We are using a heat gun, putty, and utility knife to help along the way. Pre heat the gun to five hundred degrees and then hover closely over the tape for a few minutes to where it starts to bubble. Now at the start of the section, we will begin lifting up the tape using the putty knife if necessary.

Make sure to keep using the heat gun along the way. As you make your way to the end of the removal, grab the utility knife to cut your endpoint.

As you remove the rest of the tape from the ground, make sure that you use the heat gun on the leftover adhesive so it can be properly removed with a putty knife if necessary before moving on to the next step of prepping and cleaning the floor.

Now on to our second step of cleaning and prepping the floor. This step is essential in making sure your floor tape is applied correctly and lasts as long as possible. Grab a broom to sweep up any dirt or debris from the area. Clean the floor with non citrus based general cleaner, then scrub with a clean rag or brush. After it's dry wipe the surface with isopropyl alcohol to remove any leftover residue and let it dry again.

We are now ready to apply your DuraLabel floor marking tape. Remove a section of the blue liner and apply the adhesive side of the tape along your path. Unroll a few feet of tape, remove the liner, and press down in a straight line. Continue unrolling and pressing down the tape until your area is covered. At the end of your line, cut the tape using scissors or a blade. Once the full line of tape is applied, tamp down the tape firmly across the entire length as this ensures a strong bond.

In this video, we used our pathfinder rigid heavy duty floor marking tape for a high traffic area. You can find all DuraLabel floor marking tape on our website at DuraLabel dot com. For more product and how to videos, subscribe to DuraLabel on YouTube. Thank you for watching. See you in the next video.


Wayfinding Best Practice Guide

Free Wayfinding Best Practice Guide

Improve navigation in your facility with expert wayfinding strategies and layout solutions.


Get Started

Print Your Own Signs

Free Label Design Software

Free Labeling Samples