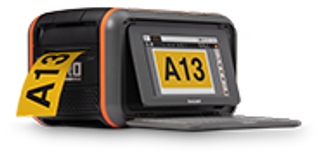
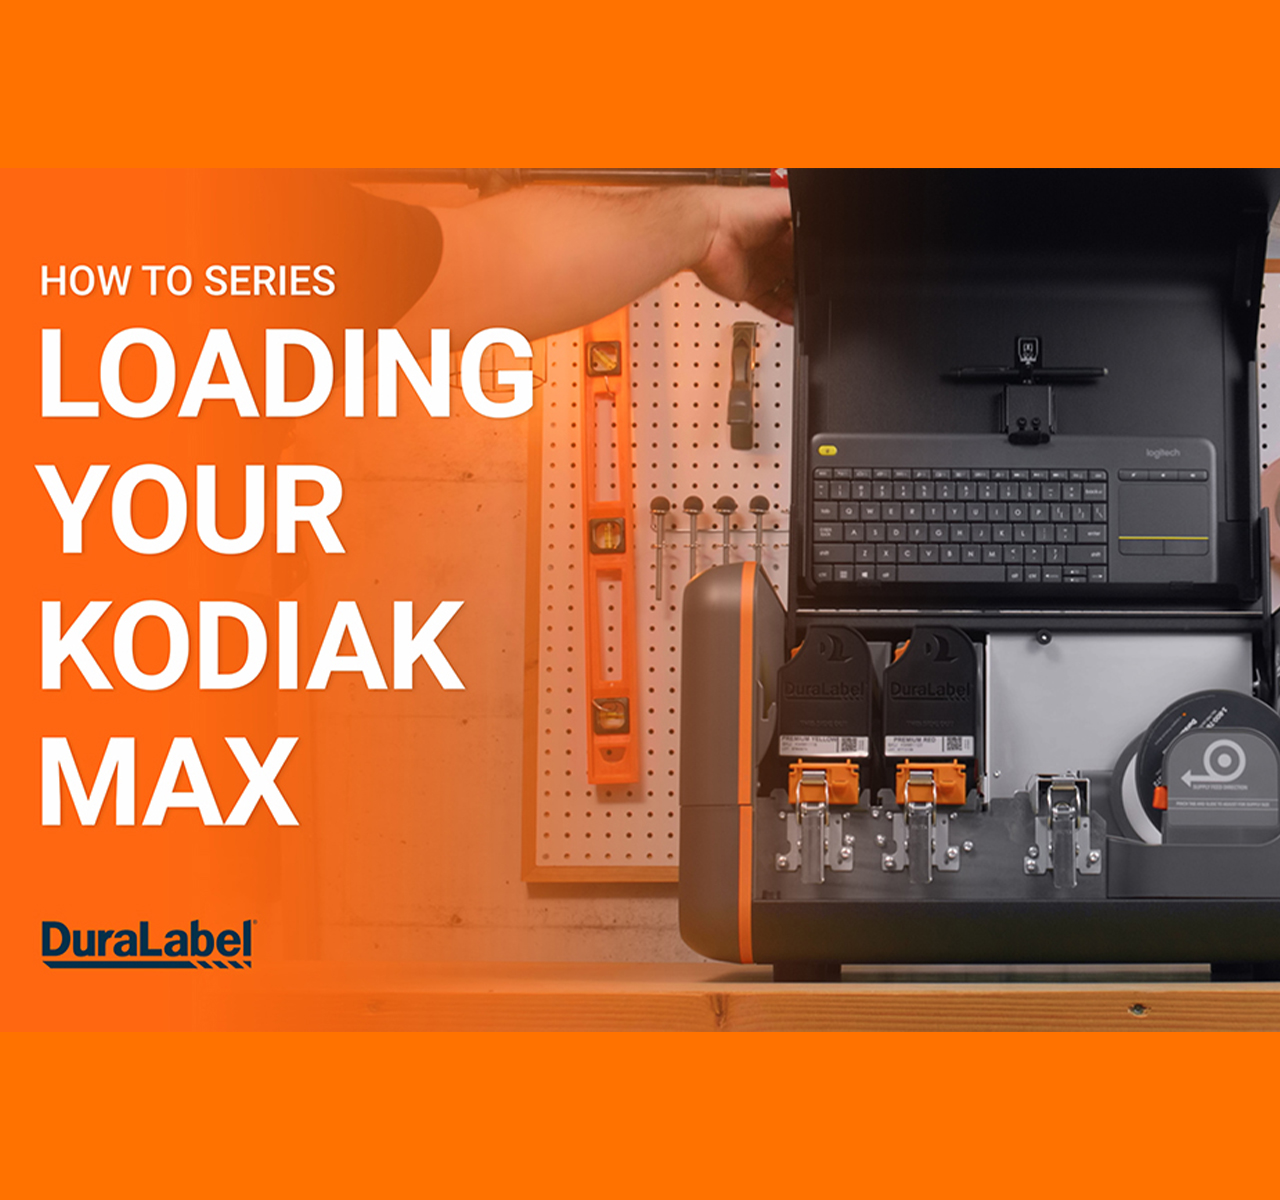
Loading Supply in the DuraLabel Kodiak Industrial Label Printer
Video Transcription
This video will show you how to load supplies into your DuraLabel Kodiak Printer. First, you'll load your label stock. This is the base material for your labels or signs Start by lifting Kodiak's lid to it's fully raised position. Squeeze the orange tab on the adjustable supply holder and slide the holder to the position marked for the width of your label stock.
Then, holding your roll of label stock so the Kodiak label faces you, drop the roll into place. The gears on the stock's end-caps should fit into the spaces on the adjustable supply holders. Unlatch the spring loaded feed roller bar and let it rise out of the way. Slide the adjustable supply guides so that the edges of your supply fit stock under the supply rollers Feed the edge of the label stock under those rollers and just underneath the metal guide.
Then, lower the feed roller bar and latch it down. Next you'll load the printing ribbons. These provide the ink for the printing process. Each ribbon needs to be loaded into a ribbon cartridge.
Start with an empty ribbon cartridge. If your cartridges are already loaded into your Kodiak you can remove them by unlatching the print heads and raising them by their orange tabs. When the print heads are fully raised they'll lock into place and you can simply slide the cartridge out. Each ribbon comes as a pair of rolls.
One full roll of fresh ribbon and one empty roll to take-up ribbon. Fit the empty take-up roll into the top of the ribbon cartridge and press it firmly into place. On the roll of fresh ribbon align the arrow on the end-cap with the arrow on the side of the cartridge, then slide the roll into place pressing it firmly in at each end. Now, find the end of the ribbon.
Pull it out, unwind it around the bottom of the ribbon cartridge, and pull it up to the take-up roll. Adhere the end of the ribbon onto the take-up roll, using a piece of tape if needed. Turn the take-up roll, to remove any slack in the ribbon. This ribbon cartridge is now ready to install.
Holding the handle of the ribbon cartridge, slide it onto the rails of the print head. Push the cartridge smoothly back into place. You should be able to see the number on the end of the print head. With a loaded cartridge locked in, lower the print head by it's orange tab and latch it down.
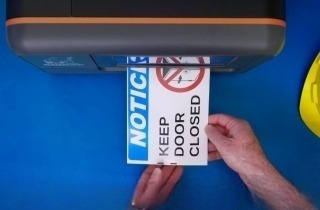
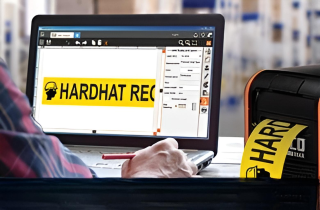
When both ribbon cartridges are loaded and in place, you'll be ready to print. Close the lid and start making your labels or signs.