.png)
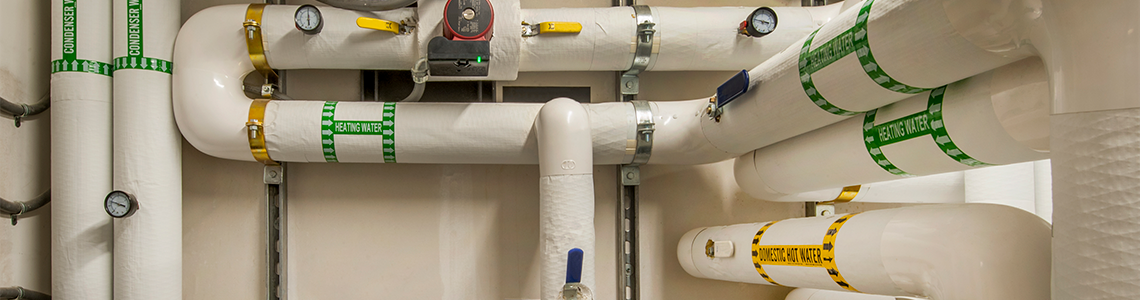
Mechanical room piping labeled with green and yellow identification bands marks heating water and domestic hot water lines, supporting ASME A13.1 pipe marking and facility safety compliance.
What Does ANSI/ASME A13.1 Require for Pipe Marking?
Effective pipe marking requires four elements: accurate pipe data collection, correct ASME/ANSI A13.1 color codes matched to hazard type, label sizing based on pipe outside diameter, and placement at points of approach — including valves, direction changes, and wall penetrations. The standard specifies eight color-code categories (e.g., black-on-yellow for flammable, white-on-red for fire-quenching) and minimum label dimensions ranging from 1″×8″ for pipes under 1.25″ OD to 4″×32″ for pipes over 10″ OD. Compliance reduces exposure incidents and satisfies OSHA general duty clause requirements.
Imagine walking through a large facility filled with pipes running in every direction. These pipes carry important substances like water or chemicals. In the event of an emergency, knowing what's inside each pipe is crucial. This is where pipe labels plays a vital role.
Pipe markers act like a name tag for each pipe, allowing people—like workers and first responders—to quickly identify the contents and the direction of flow. Whether someone is an expert or simply curious, understanding pipe labels is essential for safety and efficiency.
In 2022, the National Safety Council (NCS) collected data from the Bureau of Labor Statistics (BLS) and shared that there were 839 fatalities from exposure to harmful substances. The implementation of effective pipe marking can reduce future incidents.
If facilitates utilize pipe labeling, they need to understand what the following are and how to apply them to their labels:
- Collecting pipe data
- Pipe marker color code
- Label size and font size
- Placement of markers
Understanding every facet of pipe marking will lead to a facility that is organized, safe, and efficient.
How Do You Conduct a Pipe Marking Audit?
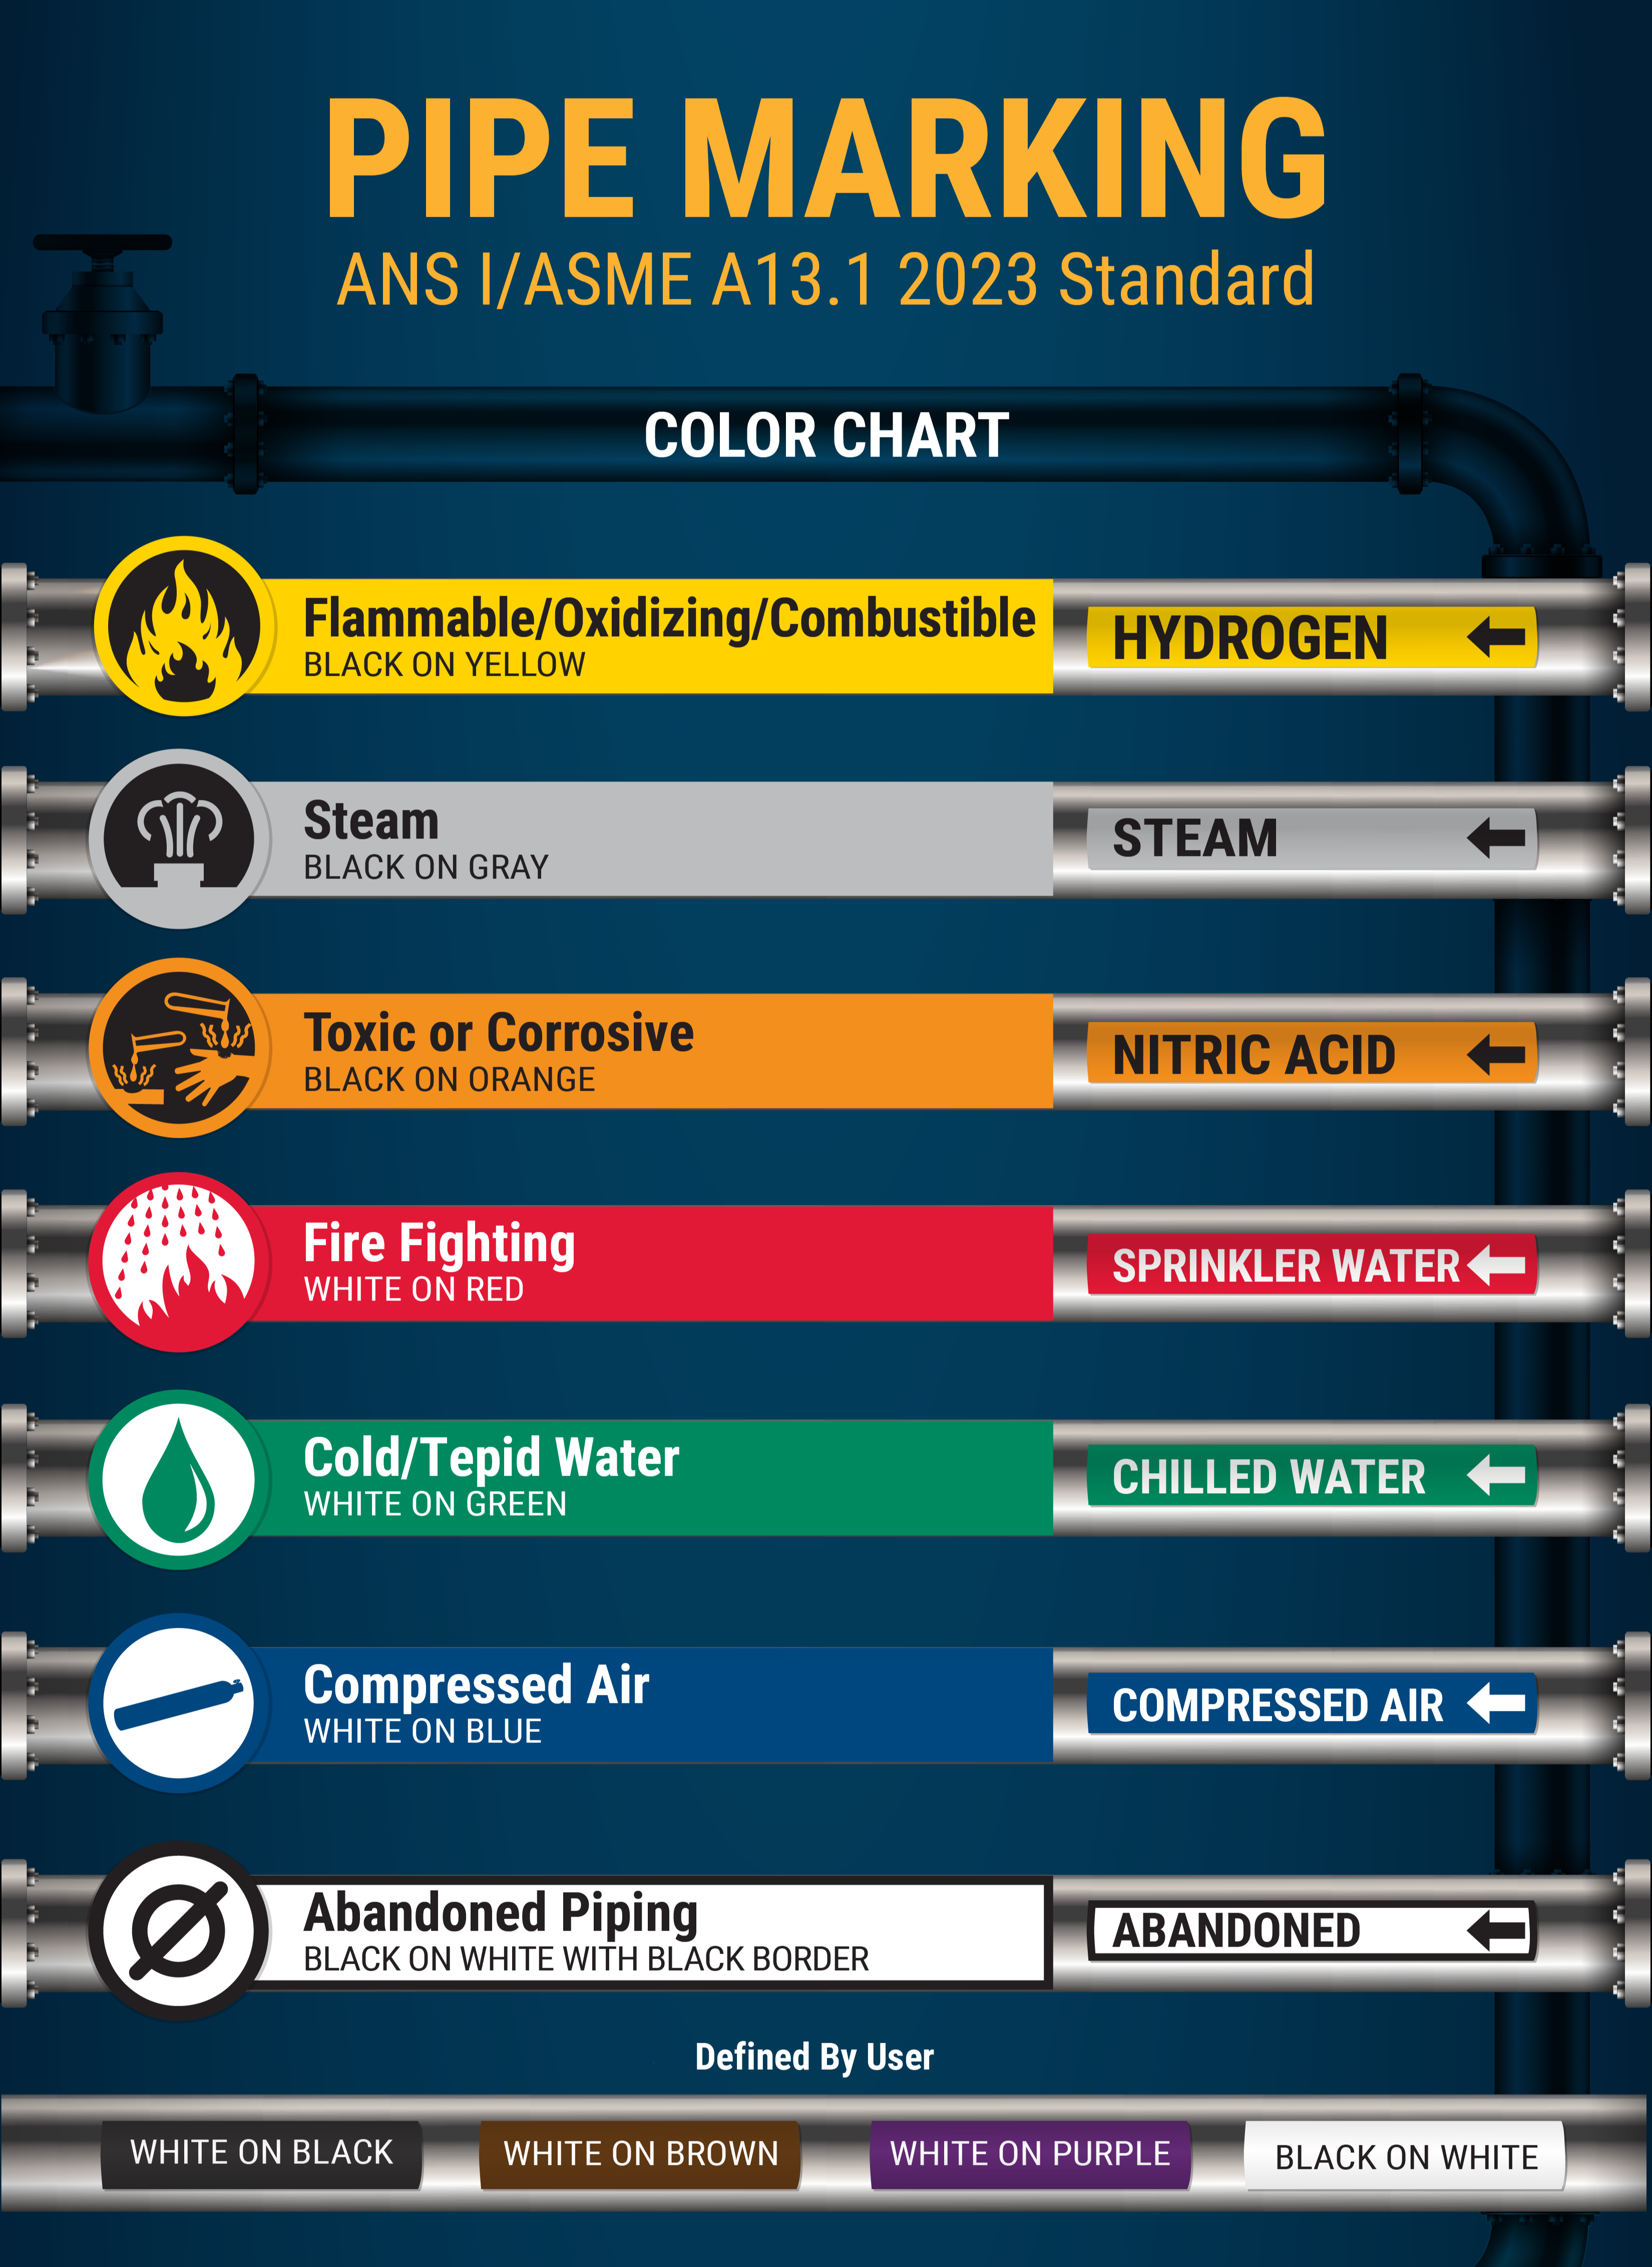
Pipe Marking Guide to the ANSI/ASME A13.1 color-coding chart
A safety audit should be conducted to determine which pipes need labeling or relabeling. This process involves walking through the facility, photographing pipes that require pipe markers, and taking detailed notes. Alternatively, a copy of the plan can be used if a map of the facility’s network of pipes is available. Locations requiring pipe labels should be numbered on the plan, with each number cross-referenced to the following information for each case:
- Pipe diameter
- Pipe contents
- Direction of flow
- Special situations (pipes that are greasy or hot will require a ladder to access, etc.)
- Optional: it may be helpful to include other details such as pressure or temperature of contents.
It's important to know that some industries and localities are held to different standards. The pulp and paper industry, for instance, is required to apply ANSI/ASME A13.1 in its mills, according to 29 CFR 1910.261(3)(ii).
Hospitals and healthcare facilities often follow the National Fire Protection Association (NFPA) standard NFPA 99: Healthcare Facilities Code, which covers many aspects of a hospital or healthcare facility and includes pipe labeling information.
Seafaring ships and vessels have their own pipe marking standard, allowing language-independent identification of pipes. The international standard ISO 14726:2008 (or ISO 14726) uses bands of color to identify pipes on seafaring ships and vessels.
Ammonia refrigeration has its own set of standards, the most common standard for ammonia refrigeration pipe markers is from the International Institute of Ammonia Refrigeration (IIAR), known as IIAR 9-2020.
Some jurisdictions may also be covered by other legal requirements. Check with your local authorities to ensure that you are complying with municipal and state law.
When conducting a pipe audit, photograph each pipe with a ruler or reference object in frame. Labels ordered based on visual estimates frequently arrive undersized — a 4″ schedule-40 pipe with insulation can measure 6″+ OD, which bumps the required label from 1″×8″ to 2″×12″. Measure over insulation, not under it.
What Are the ASME Pipe Marker Color Codes by Hazard Type?
The American Society of Mechanical Engineers (ASME) sets the standard for the pipe marker color code system. The label colors are based on the type of hazard present in the pipe. The pipe marker color code is the font color followed by label color, for example, black on yellow is black type on a yellow label.
| Hazard Type | Description | Color Code |
| Flammable | Vapors that can burn in the air, or fluids that can release a vapor that can burn in the air. | Black on yellow |
| Combustible | Any contents that could pose a fire hazard, but do not qualify as “flammable.” | White on brown |
| Toxic and Corrosive | Contents are hazardous to health when released. | Black on orange |
| Fire-Quenching | Contents are part of a fire-fighting system, such as water sprinklers or halon systems. The contents themselves may or may not be hazardous. | White on red |
| Other Water | Any water pipes that are not part of a fire-fighting system. | White on green |
| Compressed Air | Any vapors under pressure that do not fit a different category. | White on blue |
| User-Defined | Defined by the facility | White on black |
| User-Defined | Defined by the facility | Black on white |
| User-Defined | Defined by the facility | White on purple |
| User-Defined | Defined by the facility | White on gray |
The facility can use the four "wild card" color combinations to best meet its needs if it remains consistent. It is important to document these assigned colors aligned with the pipe marker color code and train workers to recognize them.
What Size Pipe Label Do You Need? (Sizing Chart by Diameter)
Each label, including the font, comes in different sizes. The size of the font and label depends on the pipe diameter.
| Outside Diameter (Including Covering) |
Recommended Minimum Label Size | Minimum Height of Letters |
| .75" - 1.25" | 1" x 8" | .5" |
| 1.5" - 2" | 1" x 8" | .75" |
| 2.5" - 6" | 2" x 12" | 1.25" |
| 8" - 10" | 3" x 24" | 2.5" |
| Over 10" | 4" x 32" | 3.5" |
It’s recommended to use a hanging tag for pipes with a diameter of 0.75” or less.
The label will need to identify the pipe contents and the direction of flow. Abbreviations may be used but it must be clear what they mean. It can also include details such as pressure or temperature.
Where Should Pipe Markers Be Placed for Compliance?
The standard emphasizes proper label placement to ensure that pipe labels are frequent enough in the facility, especially in areas with many pipes, and that they are visible without needing to travel a long distance. Employees should not have to run along the length of a pipe to find out what's inside; they need to be able to address the hazard immediately in case of an emergency.
Pipe markers should be positioned at the typical angle of approach. For example, if a pipe is in a high ceiling and people usually walk underneath it, the pipe labeling should be placed on the underside of the pipe. A common recommendation for label spacing is no more than 50 feet apart on straight sections or 25 feet apart in congested areas. Pipe marking should also be placed next to any changes in pipe direction and placed on both sides of wall or floor openings, including near all valves and flanges.
The 50-foot spacing rule is a minimum, not a best practice. In facilities with overhead pipe racks, labeling every 25 feet — even on straight runs — dramatically reduces the time maintenance crews spend tracing lines during shutdowns. The cost per additional label is negligible compared to a single hour of downtime.
How to Create Compliant Pipe Labels with DuraLabel
Pipe markers are crucial for identifying the contents and direction of flow within industrial pipelines. The pipe labeling helps workers navigate complex pipe systems safely and efficiently while detailing what each pipe carries. Understanding how to make and use pipe labels properly boosts safety and compliance with regulations in the workplace.
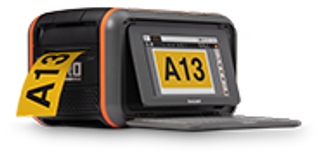
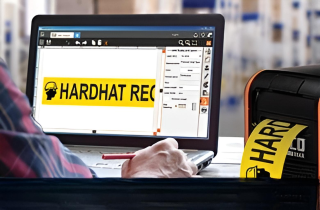
Having the right tools can make a big difference when creating reliable pipe labels. It's important to find a high-quality printer that simplifies the creation of these labels. Whether you need safety signs, pipe markers, or equipment labels, the DuraLabel Kodiak Max Industrial Sign and Label Print System is ready to meet your needs with its easy-loading ribbons and 9" full-color touchscreen.
With ongoing education and training, workers can ensure the pipe marking effectively communicates important information, protecting both people and the environment.
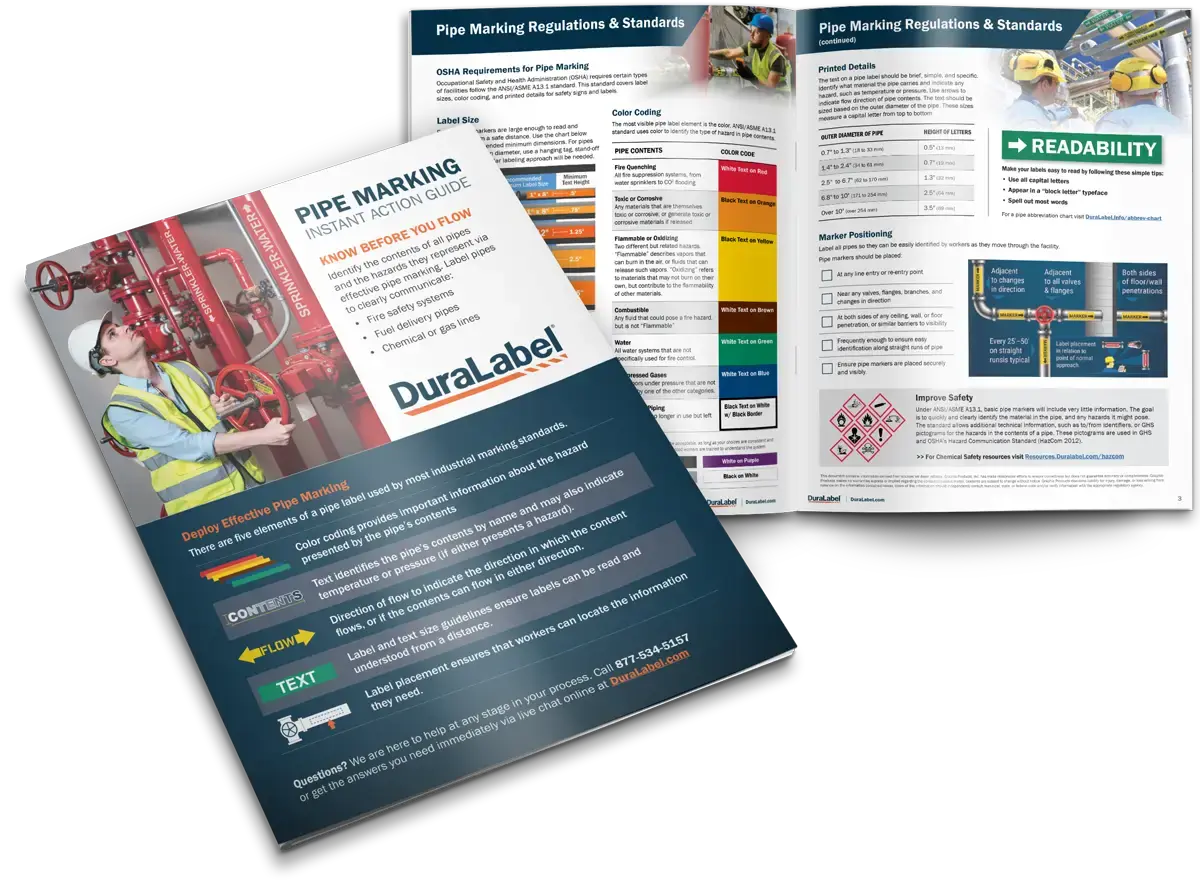
A great way to learn more about pipe marking is with DuraLabel’s free Pipe Marking Instant Action Guide. This guide helps you stay compliant with OSHA and ANSI standards, understand the hazards that might be in the pipes, and keep up with industry-specific rules. For help creating a reliable pipe labeling system, call 1-888-402-8820 and speak with an expert who can guide you through the process.
Read Next:
How to Get Started with Pipe Marking & Labeling

.png)
Navigating Pipeline Pathways with Directional Pipe Markers
Directional pipe markers are labels applied to piping systems that display an arrow indicating flow ...
Read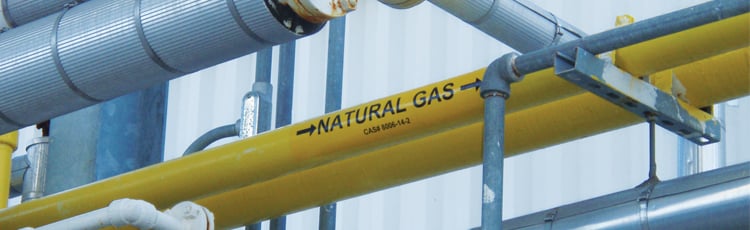
Understanding the ASME A13.1 Standard for Enhanced Pipe Labeling
The ASME A13.1standard provides a comprehensive framework for pipe marking in the United States, essential ...
Read
Water Treatment Facility Pipe Marker Benefits
Pipe markers in water treatment facilities are governed primarily by the 10 States Standards (Recommended ...
ReadTake Action
Print Your Own Signs
Free Label Design Software