17
January,
2024
3 MINUTE READ
Overview
Learn how to create labels using Microsoft? Word. Variations may occur among different versions of Word, but basic principles are the same. The DuraLabel 4000 is designed to work with any currently supported Windows software and should work with the software installed on your computer. Microsoft Word 2003 and 2010 were used to describe many procedures below.
The following information assumes your printer has been properly installed and is connected in the online mode.
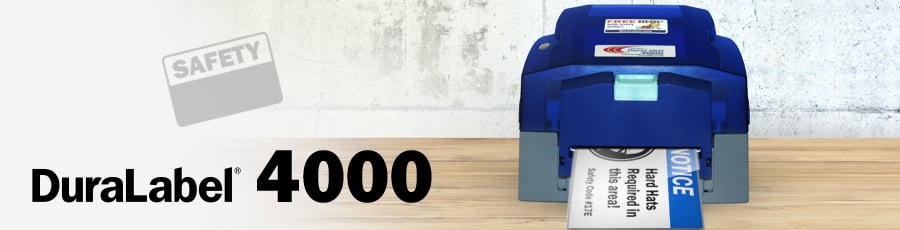
Like visuals? You can view the instructional tutorial here: DuraLabel 4000 User Guide
Label Creation with Your Word Processor
Many have invested in high-end word processing software that is never used to its full potential. Today's word processors come packed with features and capabilities that far surpass the average user needs. Advanced page layouts, graphic manipulation and printing options are only the beginning of what most word processors have to offer.
The DuraLabel 4000 operates off a standard Windows printer driver that makes the printer accessible from a wide variety of software packages. Many printers will only work with expensive, proprietary software that is often buggy and overpriced. With the DuraLabel 4000 you will be able to use the software which you are most familiar with and get the most out of an investment you've already made.
Use Templates
We have provided a variety of templates on the DuraLabel 4000 to help you print labels in no time. To get to these templates, you should install from the startup screen on your Installation CD. This should only take a minute or two.
Click on Templates & Symbols on the startup screen, then follow the instructions. The templates will install to the desktop on your computer.
After installation is complete, templates and symbols will be located in a folder called DL4000 Templates and Symbols located on your Desktop.
Now, when you want to use a template, just open Microsoft Word. Select Open then browse the DL4000 Templates and Symbols folder. There are a variety of templates from which to choose; all are setup to print correctly on the DuraLabel 4000. Just customize the label to your specifications, and print!
Set Up Microsoft Word Document
Once you open a new or existing document, you must change the paper size and margins. Word processors will default to 8.5" x 11", but changing these settings is generally very simple. The steps are outlined for Microsoft Word below.
Select Printer
Before you make any changes to the page layout you must first select the DuraLabel 4000 as your printer. The word processor communicates with the selected printer driver to determine if margin and other settings are within the printer?s limits.
To select the DuraLabel 4000, click on the File menu then Print. Next to ?Name?, simply locate the pull-down selection and choose DuraLabel DuraLabel 4000 as your printer. Click OK to continue.
Change Automatic Cutter Settings
You can change the automatic cutter settings without going back into the printer driver.
Go to File >> Print, then click on the Properties button next to DuraLabel 4000.
Choose the Stock tab.
- A new dialog will open which allows you to change the cutter options.
- If you do not want to cut between labels select None under Media Handling next to ?Post-Print Action?. If you want to cut between labels, select Cut and next to ?Occurrence? select After Every Page.
- Click Apply then click OK in the Properties window to save your new settings.
Change Page Setup
- Click on the File menu, then the Page Setup
- Now click the Margins Set all of your margins and edges to 0. This will allow you to print on the entire area of your tape. Set the orientation to desired layout. Depending on your operating system, the orientation may be on another ?tab?.
- Select the Paper Size Set your paper size to the size of the label you wish to create. Either the width or the height should match the width of the tape supply you have loaded in the machine.
Orientation
Create the label with the width and height of the label. If the width of the label is the width of the tape installed in the printer, then set the orientation to Portrait. If the height of the label is the width of the tape installed in the printer, set the orientation to Landscape. 
Click OK to apply your changes. With your document properties set correctly, you?re ready to move on to label design!
More Support Options
If you have any questions about using your DuraLabel 9000 printer software, get help from DuraLabel? world-class support team by calling 800-788-5572 or visiting DuraLabel.com. We?re here to help with all your labeling needs!


